2. VS Code – Code Runner Extensions for PowerShell.
3. VS Code – Terminal session.
VS Code – Terminal session
Max Trinidad – The PowerShell Front
A little of everything about PowerShell!!!
On previous blog we have collect some data and built our .NET PowerShell object which is going to be loaded into our SQL Server.
In this final section we are completing the process of loading the data into SQL Server. We need to make sure we got our Database and table previously created and ready to receive our data.
For this process we’ll need to create 3 functions:
1. ConnectTo-SQLServer
2. Load-LogRecord
3. Process-PSObjectToSQL
Of course we could do everything in one long script file. But, by breaking out into it will make it much easier to handle and maintain.
In order to connect to SQL Server, we’ll be using straight SMO classes to load the data. Also, we’ll integrate some basic error catching using “try-catch” code block structure.
I’m keeping the functions in a basic level hardcoding some the PSObject variables instead of using parameter names. Keep in mind, the use of parameter name(s) in a function brings a lot flexibility and function reusability.
Function – ConnectTo-SQLServer
Using SMO with a few lines of code we connect to a SQL Server engine. Here’s the basic script code to will allow us to initiate a connection to SQL Server:
[sourcecode language=”powershell”]
function ConnectTo-SQLServer
{
[CmdletBinding()]
param ()
## – Select SQLServer:
$global:SQLServerInstanceName = "MTRINIDADLT2";
$global:SQLServerDatabaseName = "LogEntries";
$global:logServerName = "tcgsvvm04";
�
## – Loading SMO .NET Assembly: (Required)
[system.reflection.assembly]::LoadWithPartialName("Microsoft.SQLServer.Smo") | Out-Null;
�
## – Connecting to SQL Server (Windows Authentication) and building you table object:
$global:SQLSvrObj = new-object(‘Microsoft.SqlServer.Management.Smo.Server’) $SQLServerInstanceName;
$global:SQLSvrObj.ConnectionContext.StatementTimeout = 0;
};
[/sourcecode]
You will notice the use the of “$global:variablename” with some of the variable objects created. This way we won’t loose the value stored in my PSObject(s) like “$global:SQLSvrObj” and have it available to other PowerShell function(s).
Function – Load-logRecord
This function show a Kind-Of template for using T-SQL insert statement to an existing table and at the same time subtitute the PSObject variable(s) constructing full qualify database table name. We construct the T-SQL Insert string and then to execute the query using SMO database *method “.ExecuteNonQuery($global:insertqry)”.
[sourcecode language=”powershell”]
function Load-logRecord
{
CmdletBinding()]
Param ()
$global:insertQry = @"
INSERT INTO [$($global:SQLServerDatabaseName)].[dbo].[$($global:logServerName)_Log]
([Column1]
, [Column2]
, [Column3]
, [Column4]
, [Column5]
, [Column6]
, [Column7]
, [Column8]
, [Column9]
, [Column10]
, [Column11]
, [Column12]
, [Column13]
, [Column14]
, [Column15]
, [ServerName])
VALUES
( ‘$($global:l.Column1)’
, ‘$($global:l.Column2)’
, ‘$($global:l.Column3)’
, ‘$($global:l.Column4)’
, ‘$($global:l.Column5)’
, ‘$($global:l.Column6)’
, ‘$($global:l.Column7)’
, ‘$($global:l.Column8)’
, ‘$($global:l.Column9)’
, ‘$($global:l.Column10)’
, ‘$($global:l.Column11)’
, ‘$($global:l.Column12)’
, ‘$($global:l.Column13)’
, ‘$($global:l.Column14)’
, ‘$($global:l.Column15)’
, ‘$($global:LogServerName)’)
GO
"@;
 $global:SQLSvrObj.Databases["Master"].ExecuteNonQuery($global:insertQry);
};
[/sourcecode]
*Note: Keep in mind, by saving the PSObject variable with a $global: scope, you will access to its value after the function has been executed or the value will be dispose (null).
Function – Process-PSObjectToSQL
This is the heart of loading the data. Here we use both previous functions: 1. ConnectTo-SQLServer and
2. Load-LogRecord.
This a simple code block using the ForEach() block to read thru the PSObject variable to load the data into SQL Server. All accomplished with a few code block.
Now, here’s where we’ll include our error catching code block in case we encounter any data load issue during this process.
[sourcecode language=”powershell”]
function Process-PSObjectToSQL
{
[CmdletBinding()]
param (
[array]$SQLDataObj
)
## Start process
Try
{
ConnectTo-SQLServer;
$global:cnt = 0
Write-Verbose "Start loading Data to SQL Server" -Verbose;
foreach ($global:l in $SQLDataObj)
{
Load-logRecord;
$global:cnt++;
}
}
catch
{
$global:ShowErr = @"
Insert SQL failed: Record #[ $($global:cnt) ]`n`r—–
Table: [$($global:SQLServerDatabaseName)].[dbo].[$($global:logServerName)_Log]`n`r—–
$($global:insertQry)`n`r—–`n`r$($error[0].Exception)
"@
[system.reflection.assembly]::LoadWithPartialName("System.Windows.Forms") | Out-Null;
[System.Windows.Forms.MessageBox]::Show("$global:ShowErr", "SQLInsertQry Exception") | Out-Null;
�
$errfound = $true
}
finally
{
## – Cleanup connection:�
$global:SQLSvrObj.ConnectionContext.Disconnect();
$global:SQLSvrObj = $null;
if ($errfound -eq $true)
{
Write-Verbose "Failure loading Data to SQL Server!" -Verbose;
$global:ShowErr | Out-File -FilePath c:\Temp\SQLDataLoadfailure.txt;
Invoke-Item c:\Temp\SQLDataLoadfailure.txt;
}else{
Write-Verbose "Completed loading Data to SQL Server" -Verbose;
}
}
};
[/sourcecode]
This function has a ParameterName $SQLDataObj. This will take the previously created $SQLData PSObject to be loaded to SQL Server.
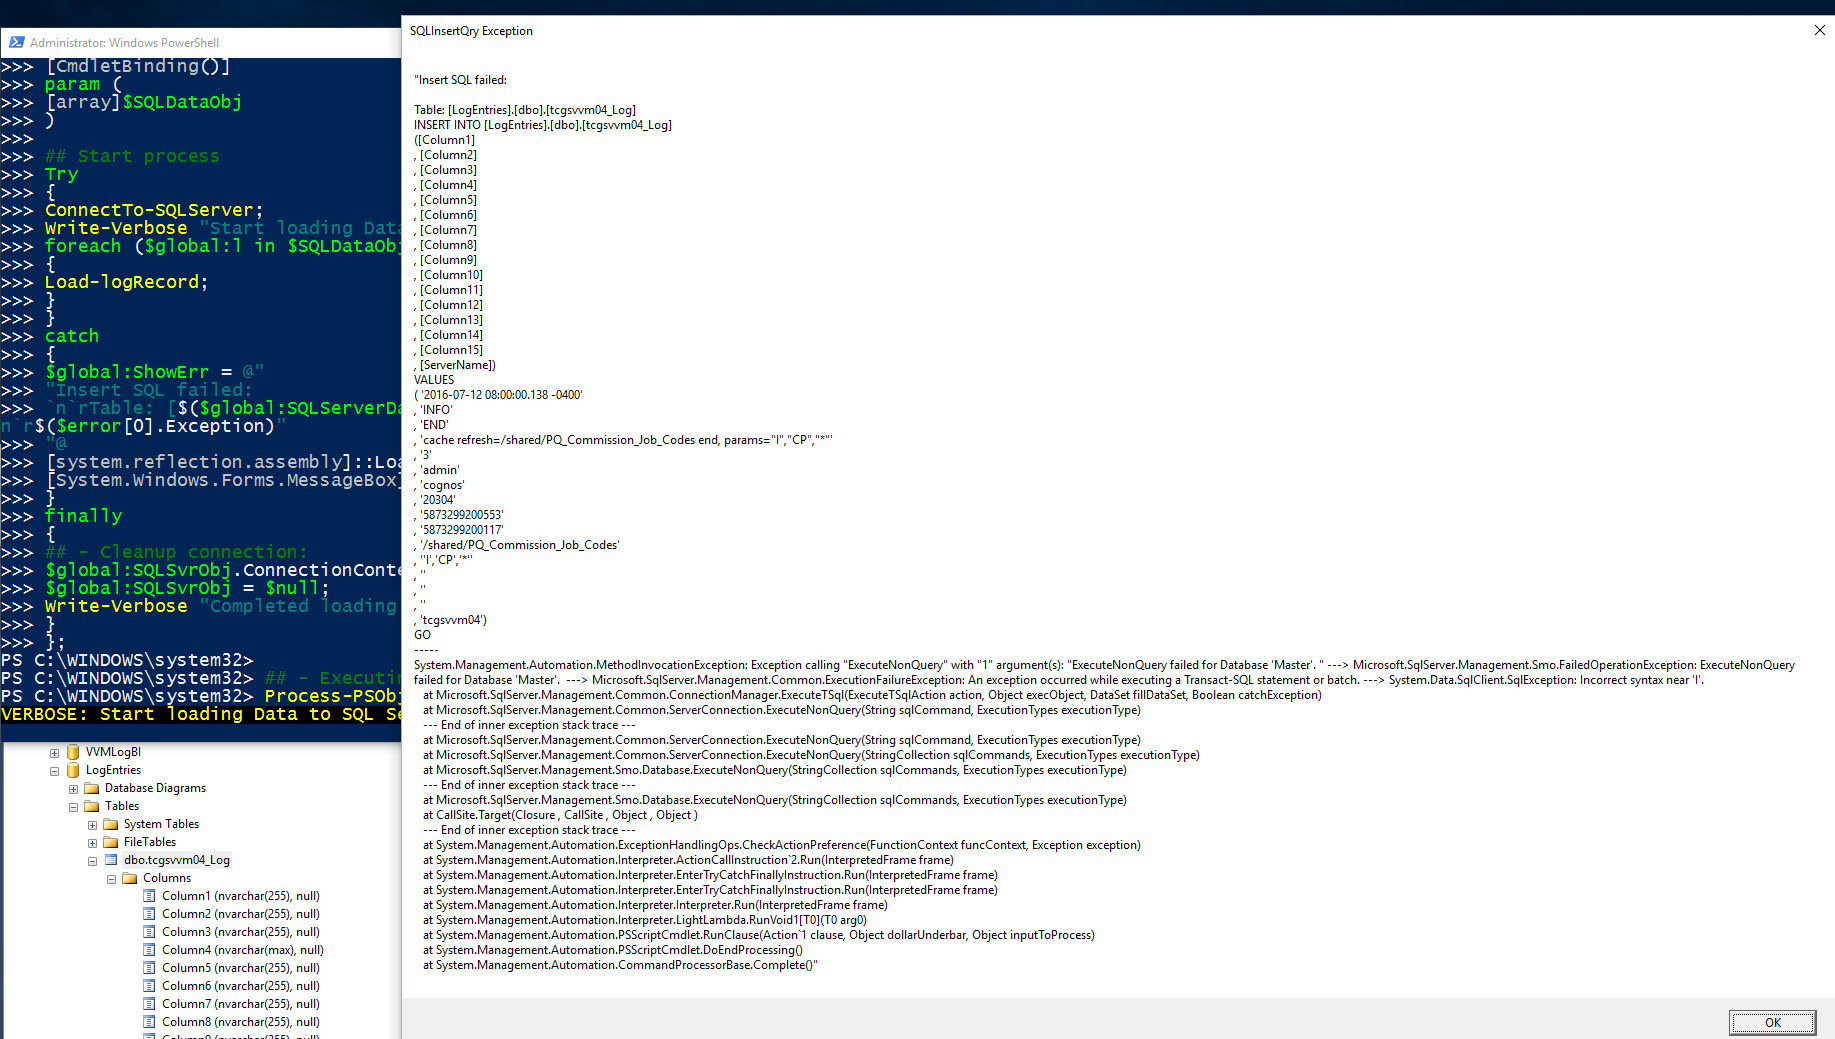
In Error catching code block, the try{..} contains all the logic code to process the data. Then, the catch{..} has a custom string with enough information to trouble the issue the process may have encountered, such as: Fully qualified Database name, Insert Query T-SQL script, and the actual Exception error message.
At the end of the process, error or not, the finally{..} block will always execute the code. In this case, to disconnect and cleanup the connection to SQL Server.
Executing the process
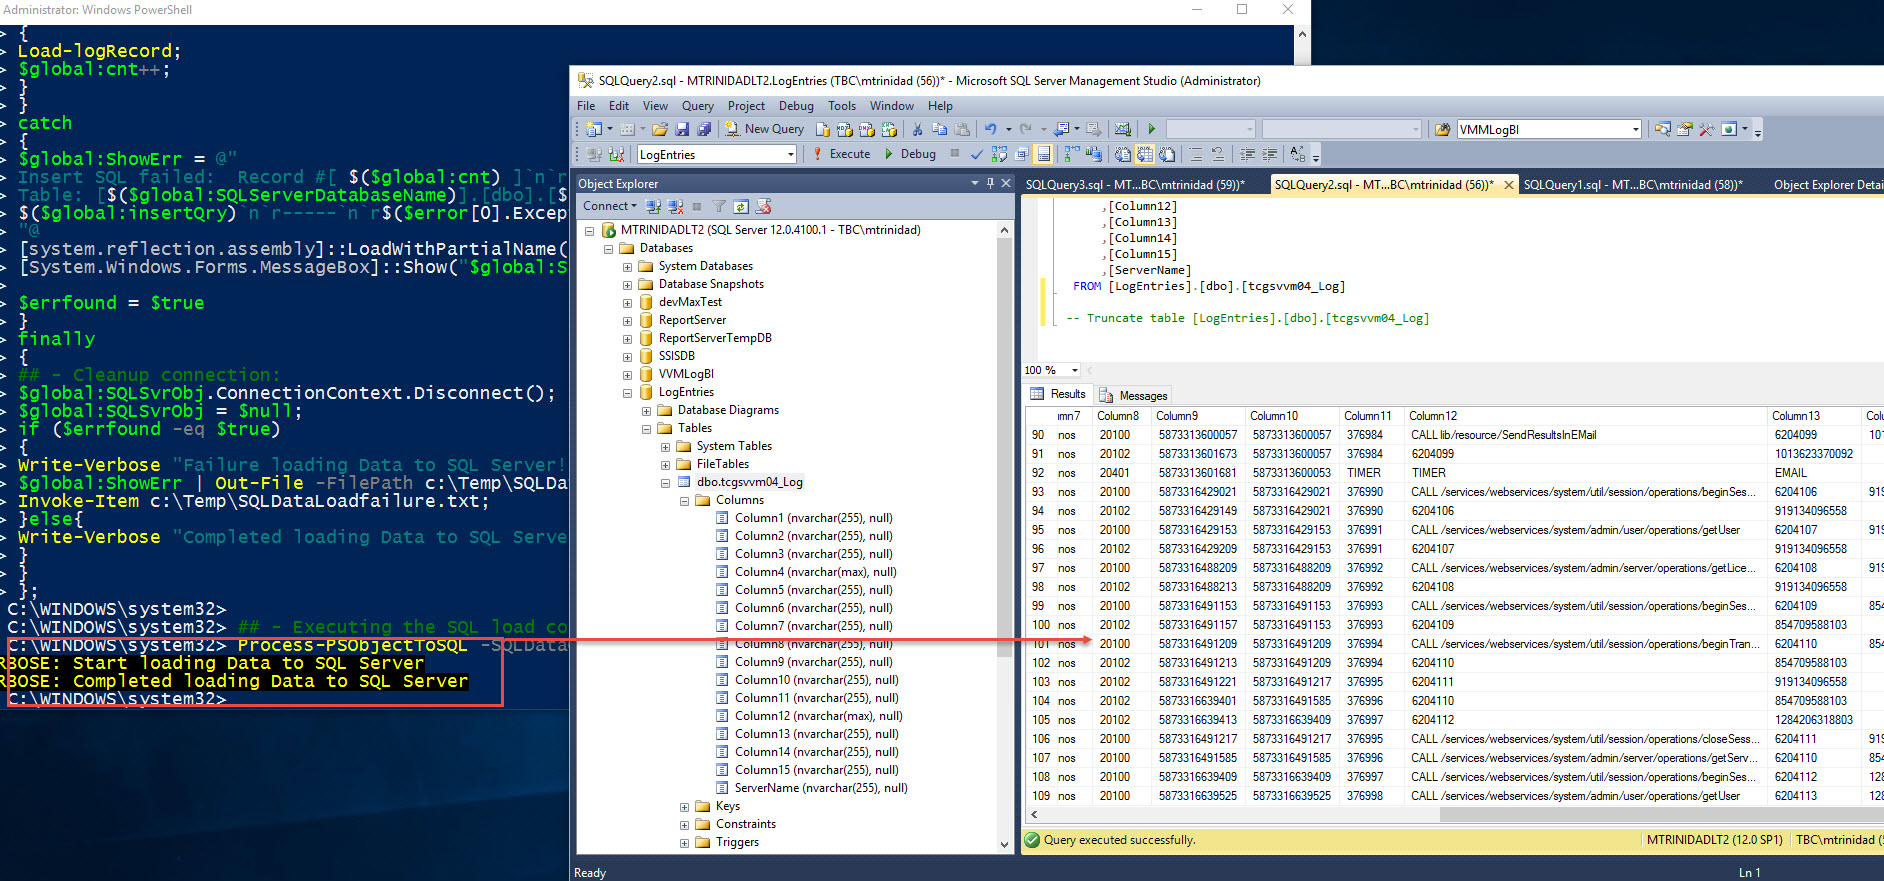
After all the previous functions has been loaded, just type the following one-liner:
Process-PSObjectToSQL -SQLDataObj $SQLData;
This sample script code can serve as a startup Template to load data into SQL Server.
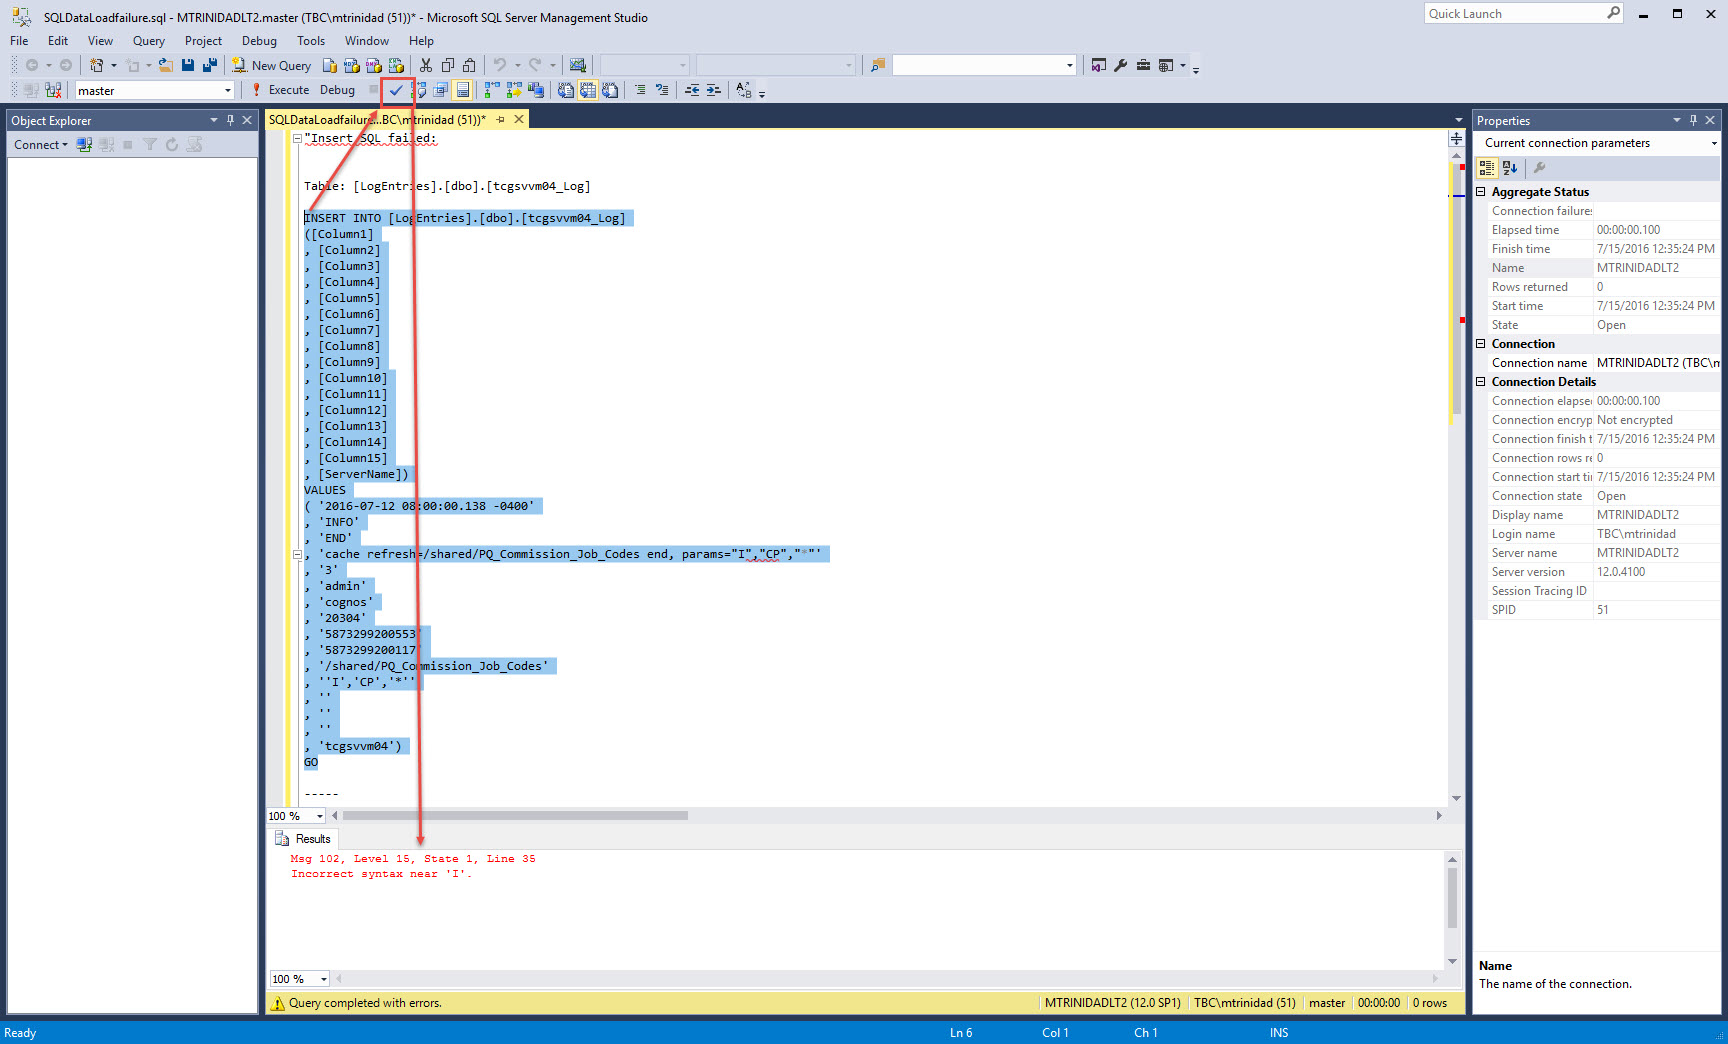
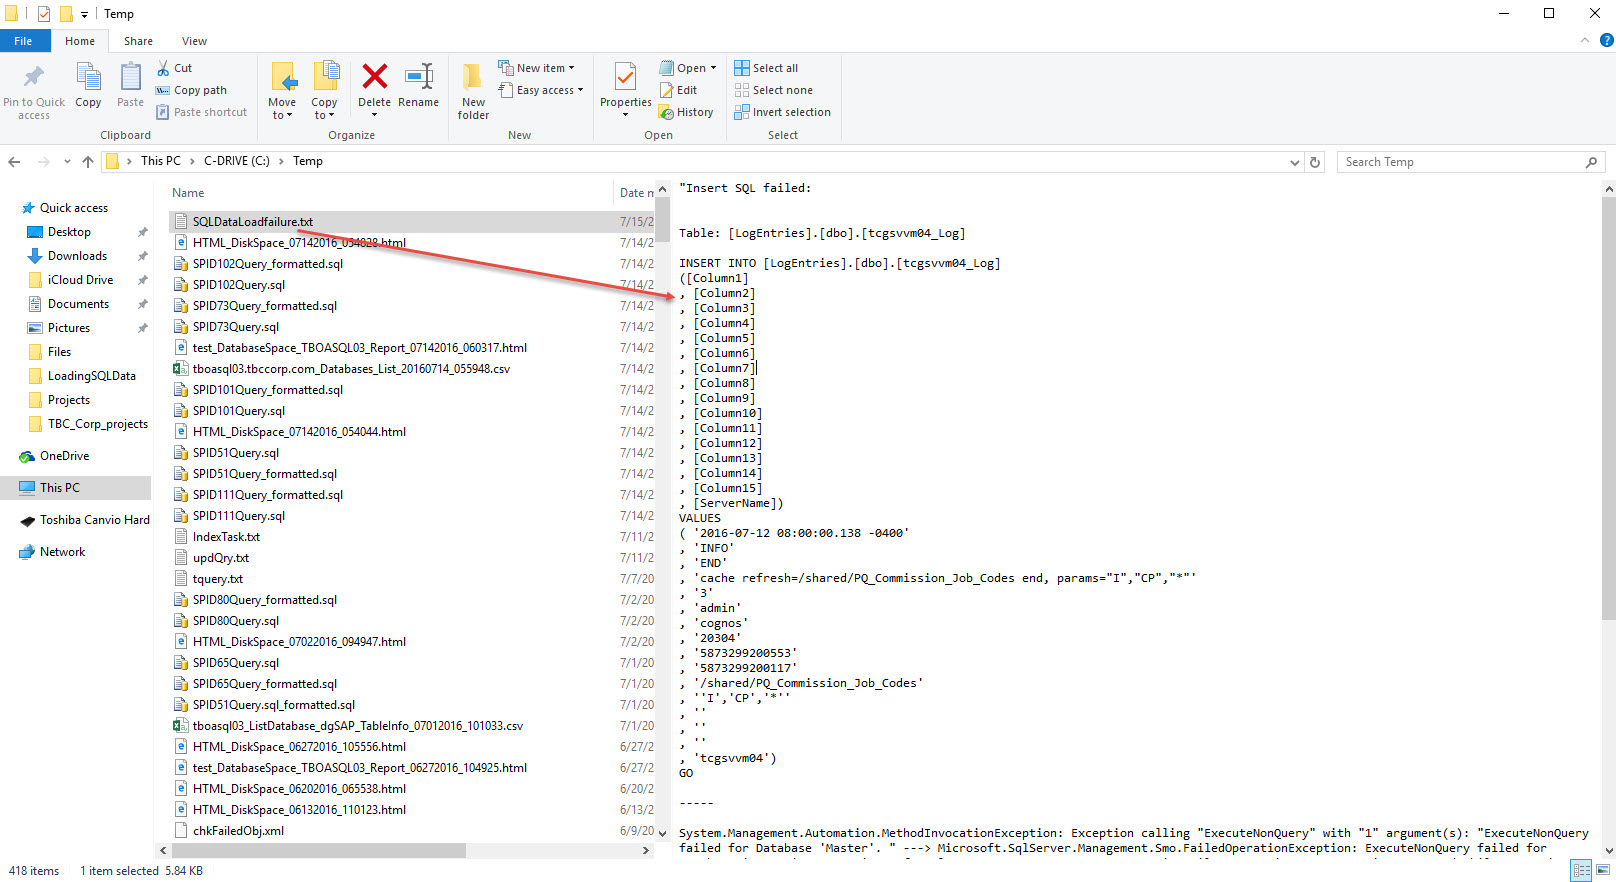
This sample SQL data load will fail. Here’s when the Try/Catch/Finally will work for you in trapping what went wrong. Adding the necessary code to provide that additional information to troubleshoot and fix the problem.
Be Creative! Check out the results.


Happy PowerShell!
Yes! I finally got the latest Windows 10 Build 14328 which includes BASH Ubuntu Linux subsystem. I took me few days since my organization did a Windows 7 upgrade to Windows 10 Version 1511. Then, thru Windows Insider, getting the latest version with Bash.
If it worth knowing that in order to get Bash, it’s a feature you need to installed it first. The following is the series of steps I use to enabled and install Bash on my desktop. And, after enabling Bash, I started using it under the PowerShell Console.
Set bash Feature On
Go to Control Panel, under Programs click “Uninstall a program” then click on “Turn Windows features on or off“. Under the “Windows Features” popup windows Look and Enable “Windows Subsystem for Linux (beta)”. Click OK to accept changes.
Using PowerShell Console and Set Developer Mode
Open PowerShell Console but make sure you already have set the “Execution Policy” to at least “RemoteSigned“. Type and execute “bash” but it won’t work because you need to have your Windows 10 set to Developer Mode.
The following screen show how to go thru the “Setting” panel to enable Windows Developer Mode.
Ready for Bash
At the PowerShell prompt type “bash” and press enter. This will ask to enter “y” to initiate the installation of Ubuntu on Windows.
After the installation is completed the next step is to create a User-ID and Password.
Now, you can start using Linux within PowerShell.
To get back to PowerShell just type “exit“. How cool is that!!