The Truth, it wasn’t easy. I look around some blogs but they always failed to mention what was done prior to the actual installation of SQL Server on a Server Core machine. But, installing SQL Server on a Server Core 2012 makes it better if you have installed the Minimal-Server interface. Yes! The new Server Core gives you the flexibility to partially add and remove the GUI shell.
Here’s what I did to get my SQL Server on a Server Core 2012 installed in a Virtual Machine. Remember, when using Hyper-V, you can use the shapshot feature to create a point of recovery state in case you need to go back and start over.
Setting up Server Core 2012 with Minimal-Server Interface
First, I need to make sure Server Core has all the components in place. In my test building a virtual machine I found that I needed to have:
1. Connection to the internet or some features will fail to install.
2. I need to assign a static IP Address (so I can join my domain).
3. Add an admin user account to the local administrator group (Workgroup or Domain admin user account).
4. Configure Remote Management.
5. Configure Remote Desktop.
To get this done I use the vbscript application “SConfig” tool to assist configuring my Server Core. It’s a great tool, and it can be executed from PowerShell prompt too.
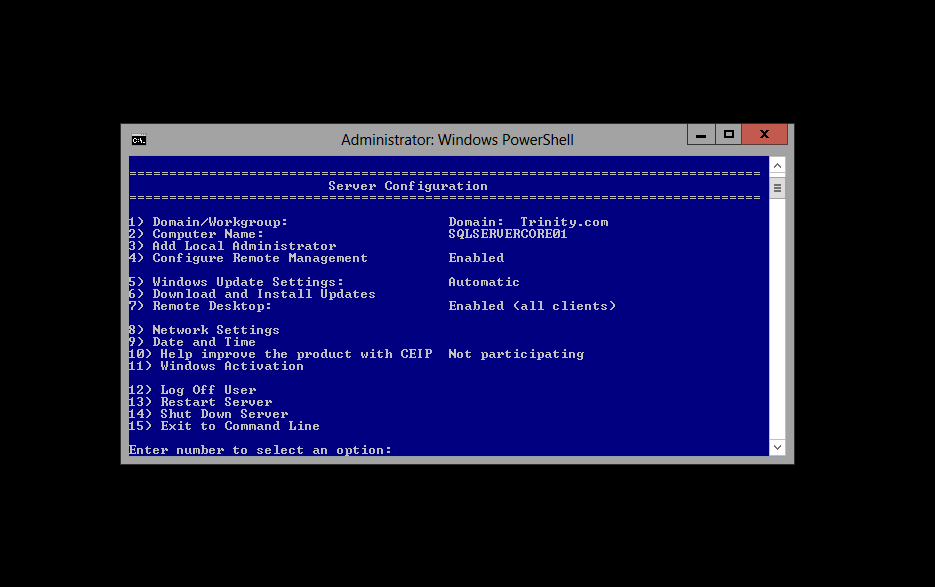
Now, keep in mind you need to meet some requirements before installing SQL Server. Most important is installing .NET Framework 3.5. But, if you successfully install the following Windows Features to enable the Minimal-Server interface on Server Core 2012 then you should be fine for setting up SQL Server. Again, connection to the internet is mandatory (at least in my scenario).
Here’s the features required to *install and enabled the Minimal-Server interface:
Install-WindowsFeature -Name UpdateServices
Install-WindowsFeature -Name Net-Framework-Core
Install-WindowsFeature -Name Server-Gui-Mgmt-Infra -restart
*Note: Notice these are PowerShell commands.
Yes! You can use PowerShell. Just type *PowerShell as soon as the command prompt shows up and you can continue building the you Server Core. A restart of the server will be needed.
Tip: To start PowerShell in Server Core 2012 DOS command prompt, type “PowerShell” and press Enter . Then, to get back to DOS command prompt, type the “Exit” and press Enter.
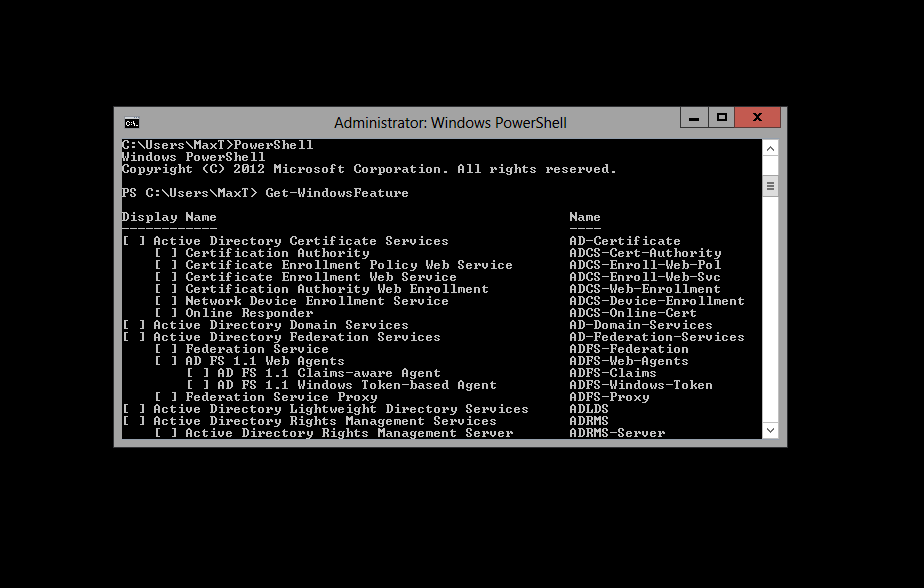
To get a list of all installed features, use the following PowerShell command:
Get-WindowsFeature
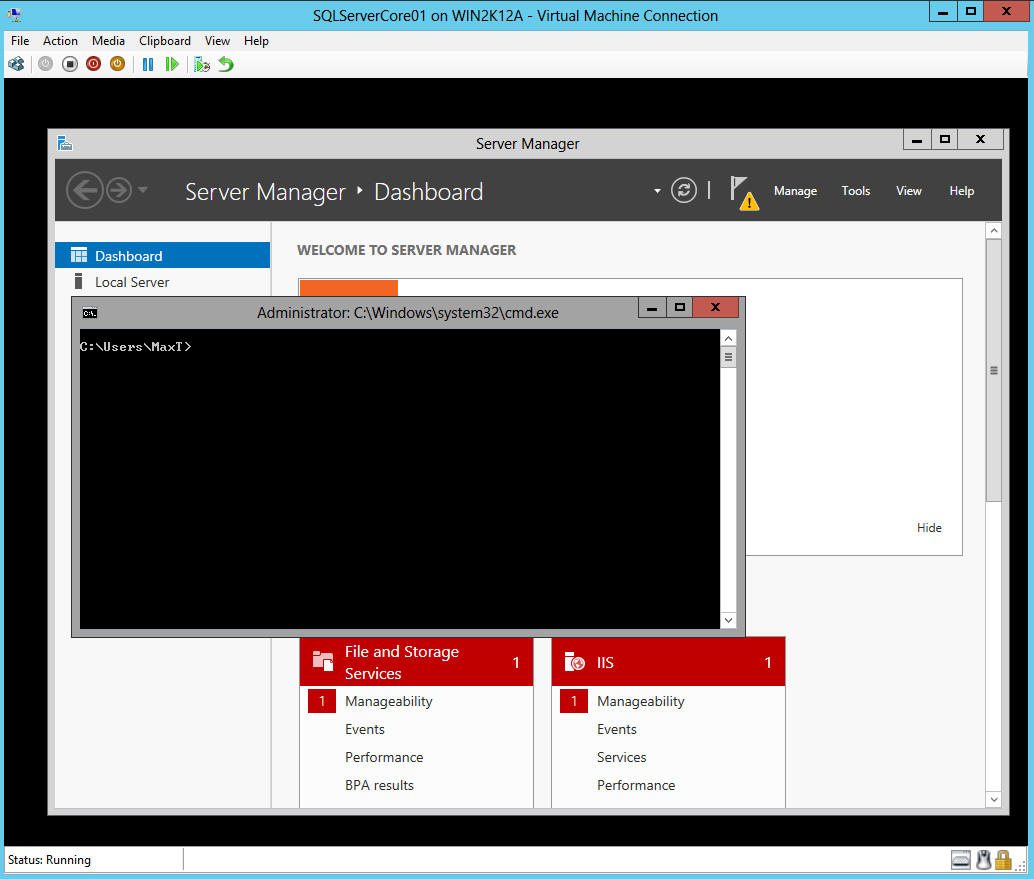
Use the above command verify the .NET Framework 3.5 features has been enabled. Of course, after rebooting the server you will notice the Server Manager GUI will be displayed along with the command prompt. This is a good indication .NET Framework is in place.
After rebooting, you will get the Minimal-Server Interface.
Installing SQL Server 2012 on Server Core 2012
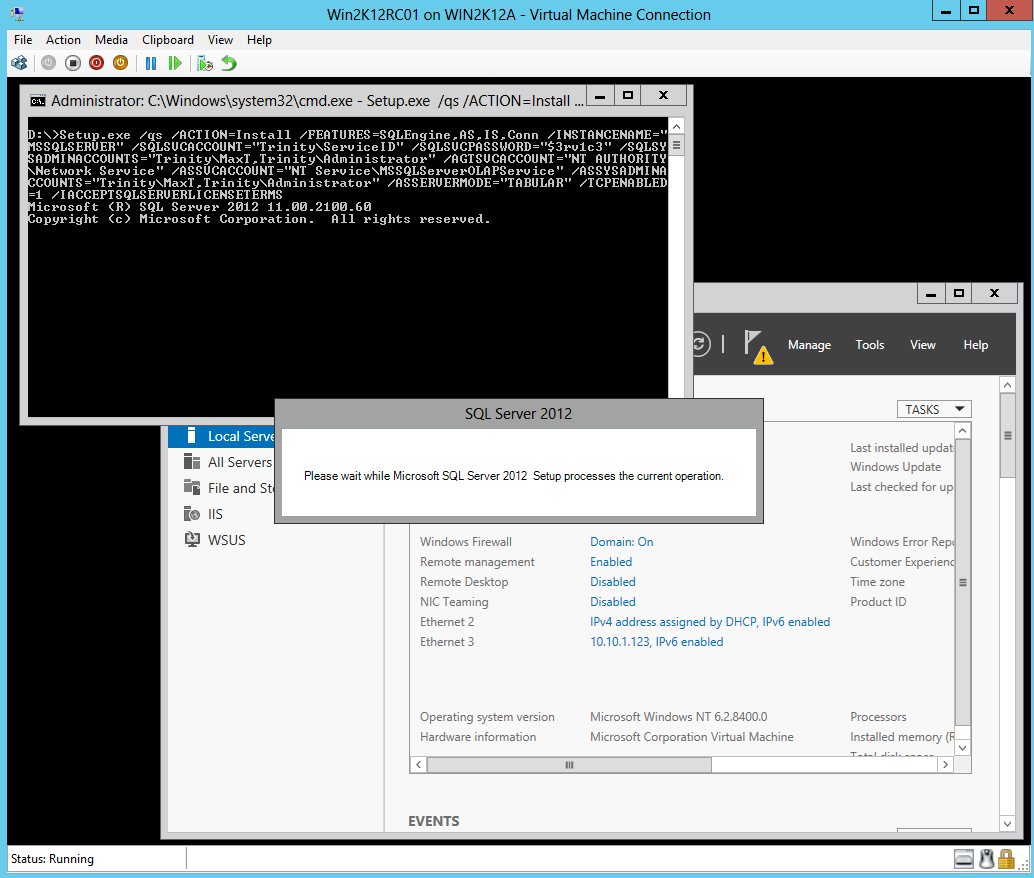
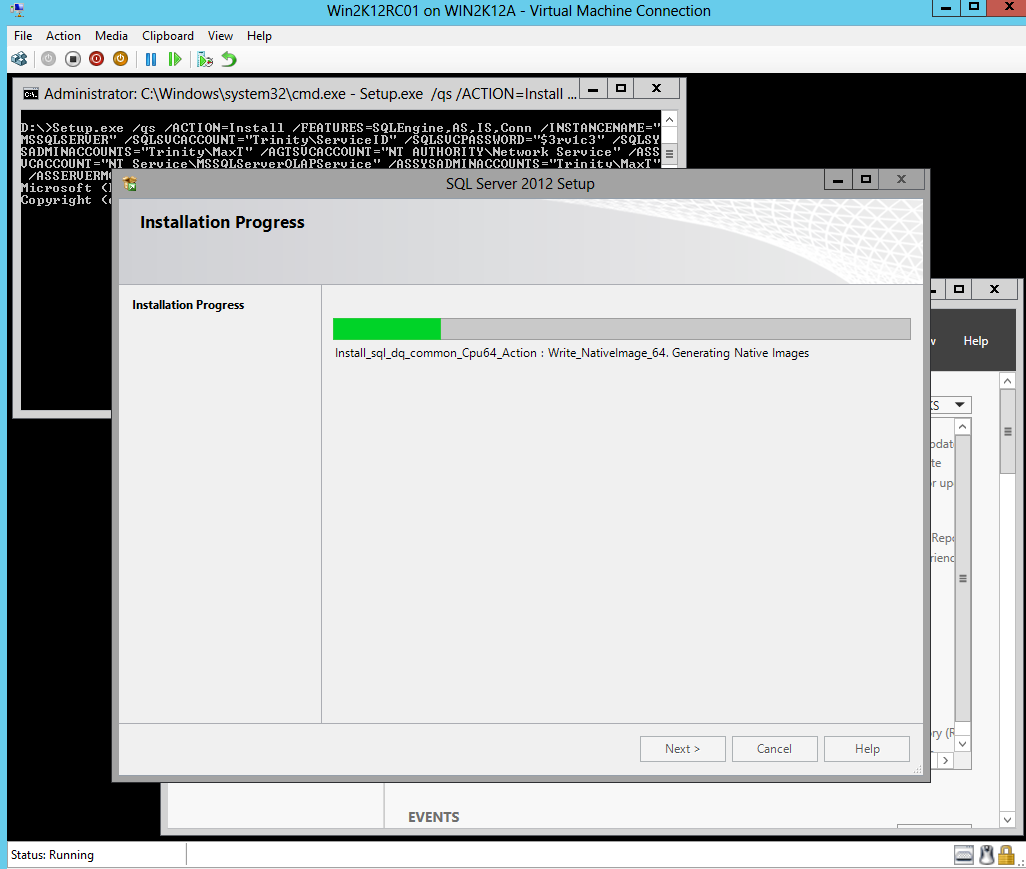
Now, I’m are ready to install SQL Server 2012. I have attached the SQL Server 2012 ISO image to my virtual machine. Here’s the *Setup command to install: SQLEngine, AS, IS, and Conn. For more information: http://msdn.microsoft.com/en-us/library/hh231669.aspx
Setup.exe /qs /ACTION=Install /FEATURES=SQLEngine,AS,IS,Conn /INSTANCENAME=”MSSQLSERVER” /SQLSVCACCOUNT=”DomainName” \AccountName” /SQLSVCPASSWORD=”*******” /SQLSYSADMINACCOUNTS=”DomainName\AccountName” /AGTSVCACCOUNT=”NT AUTHORITY \Network Service” /ASSVCACCOUNT=”NT Service\MSSQLServerOLAPService” /ASSYSADMINACCOUNTS=””DomainName\AccountName” /ASSERVERMODE=”TABULAR” /TCPENABLED=1 /IACCEPTSQLSERVERLICENSETERMS
*Note: The above command is a *one-liner.
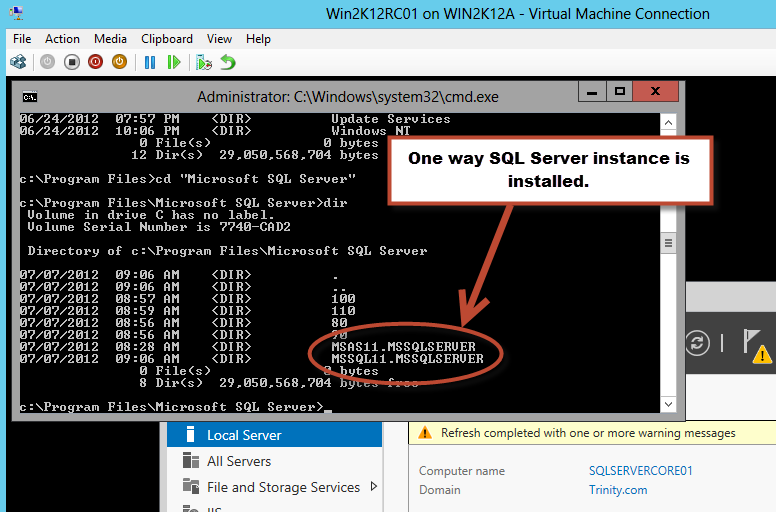
A Word of Caution. I’ve experience that sometimes the setup will finished with no indication that everything completed successfully. To find later that the SQLEngine wasn’t installed
I had to verify the SQL Server instance was installed by looking at the Microsoft SQL Server folder under “C:\Program Files\Microsoft SQL Server” and use the PowerShell command “Get-Service” to see all services were active.
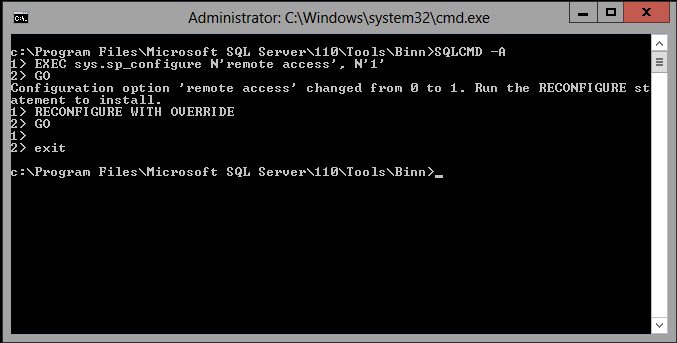
Now, I need to configure the SQL Remote Access to option “1” using the “SQLCMD -A” command from the “C:\Program Files\Microsoft SQL Server\110\tools\binn” folder with the following T-SQL lines:
EXEC sys.sp_configure N’remote access’, N’1′
GO
RECONFIGURE WITH OVERRIDE
GO
Exit
Test SQL Server connection remotely
Now, before trying to connect from another machine, I need to configure the Windows *Firewall rule to allow access to my SQL Server by executing the following line in the DOS command prompt:
netsh firewall set portopening protocol = TCP port = 1433 name = SQLPort mode = ENABLE scope = SUBNET profile = CURRENT
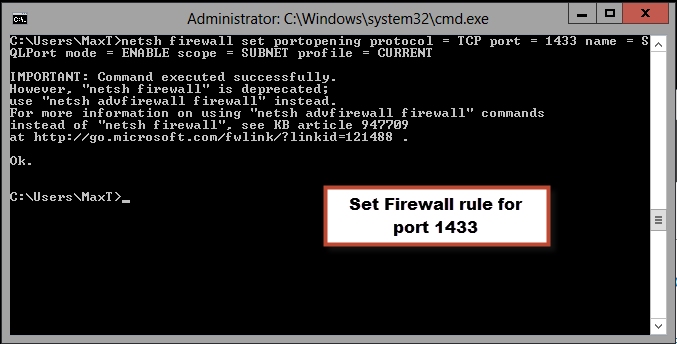
*Note: This command will execute but read the warning message
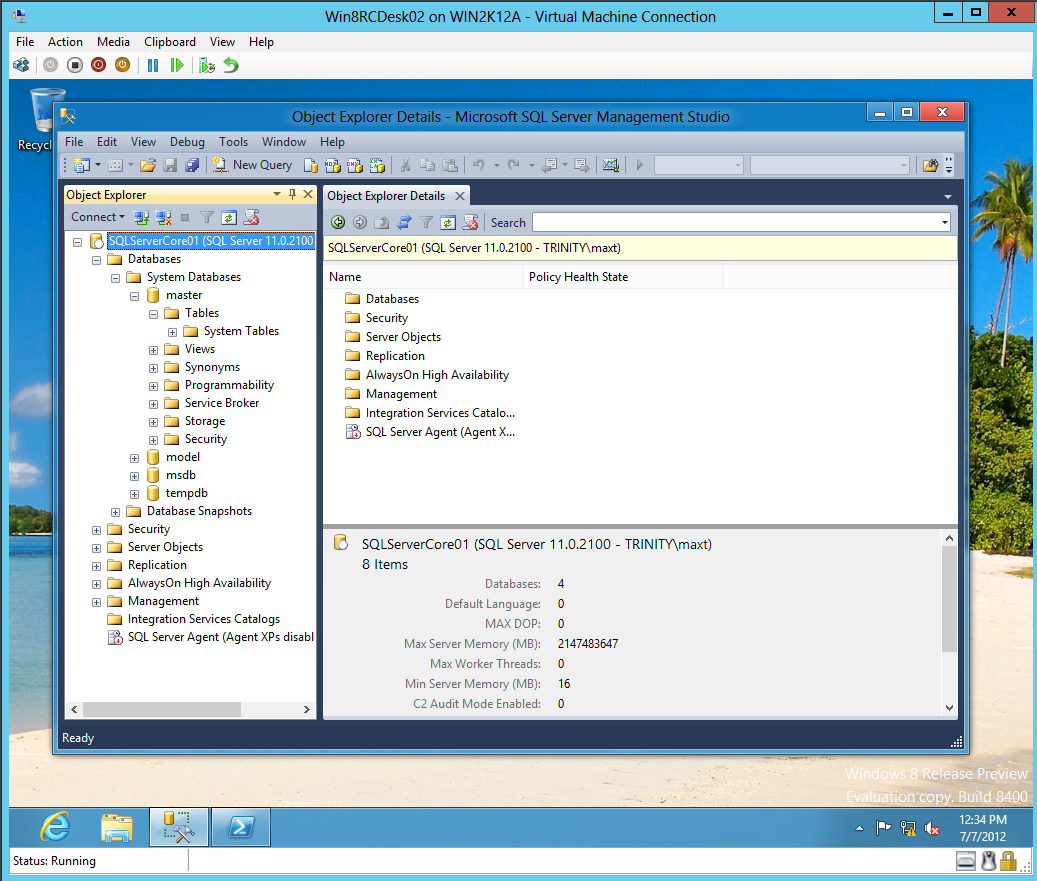
The moment of Truth! Testing that I can connect to SQL Server on Server Core 2012 from a Windows 8 Desktop using SSMS.
Conclusion
In this blog I have accomplished the following in a virtual machine:
1. Build a Server Core 2012 with Minimal-Shell interface.
2. Use the VBScript “SConfig” to help configuring my server.
3. Install SQL Server 2012: Engine, Analysis Services, and Integration Services.
4. Verify remote connectivity using SSMS from a desktop machine.
I’m just having fun with technology!
