Working with PSObjects is essential to anyone using PowerShell. Especially, when there’s a need to extend the object to provide useful information.
Remember, the best way to get familiar with the PowerShell object(‘s)… (AKA PSOBject, .NET Object) is to use the ‘Get-Member’ Cmdlet.
Learn-By-Example
Creating custom properties on an existing PSObject:
1. Add a row property using Custom Expression: @{ label = ‘xxcolnamexx’; expression = { “xxxany code logic here..xxx” }; }
2. Add two new columns using the Add-Member command: “SystemName” and “UserName“ – using existing PowerShell session environment variables: $env:COMPUTERNAME, and $env:USERNAME.
Building our Sample PSObject
Let’s create a PSObject using the following *command:
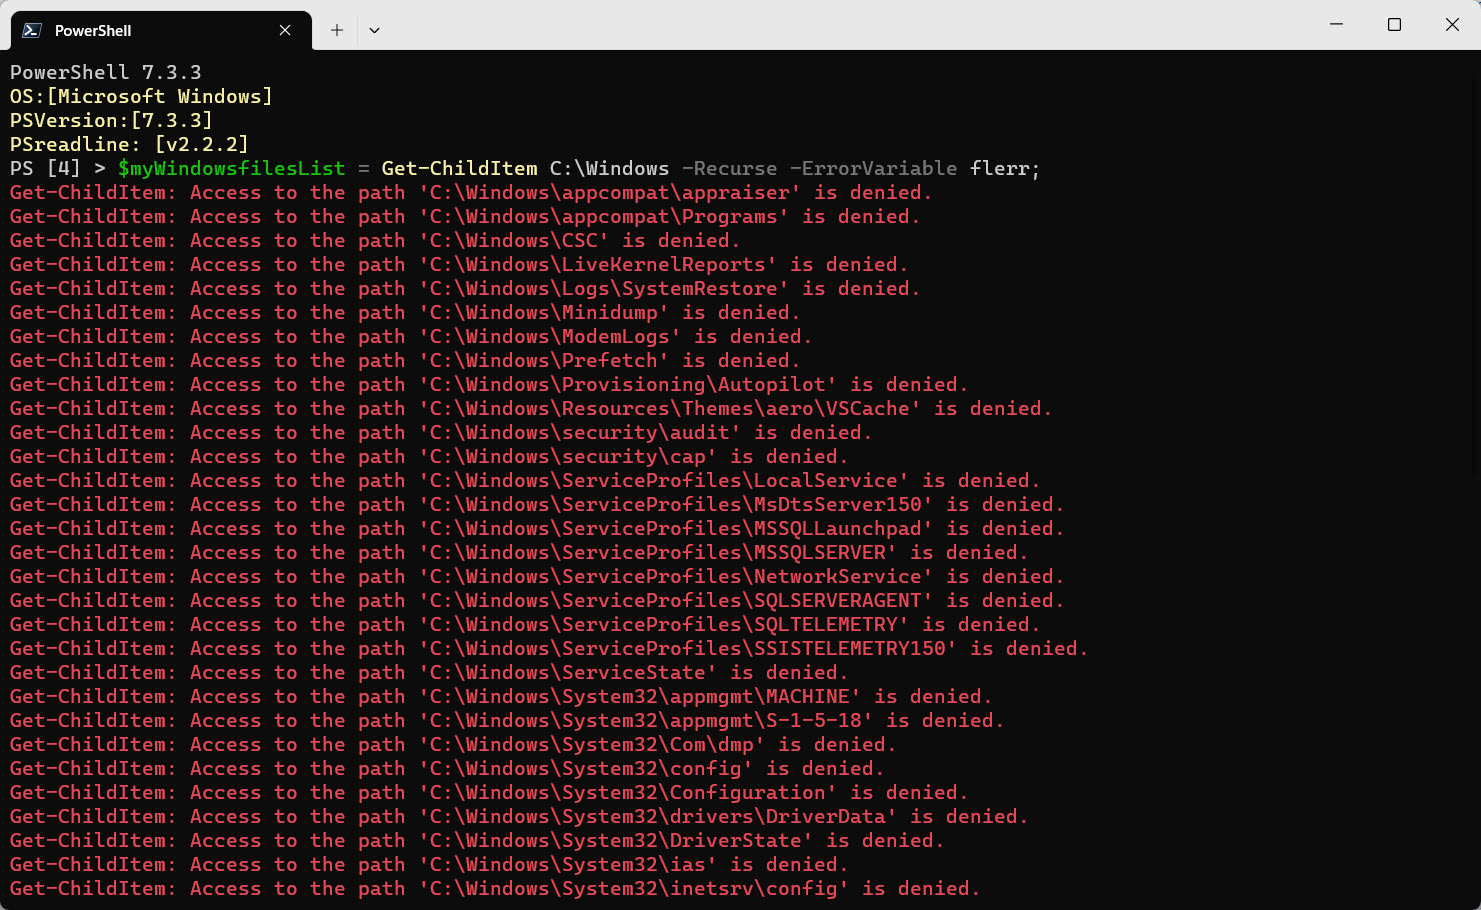
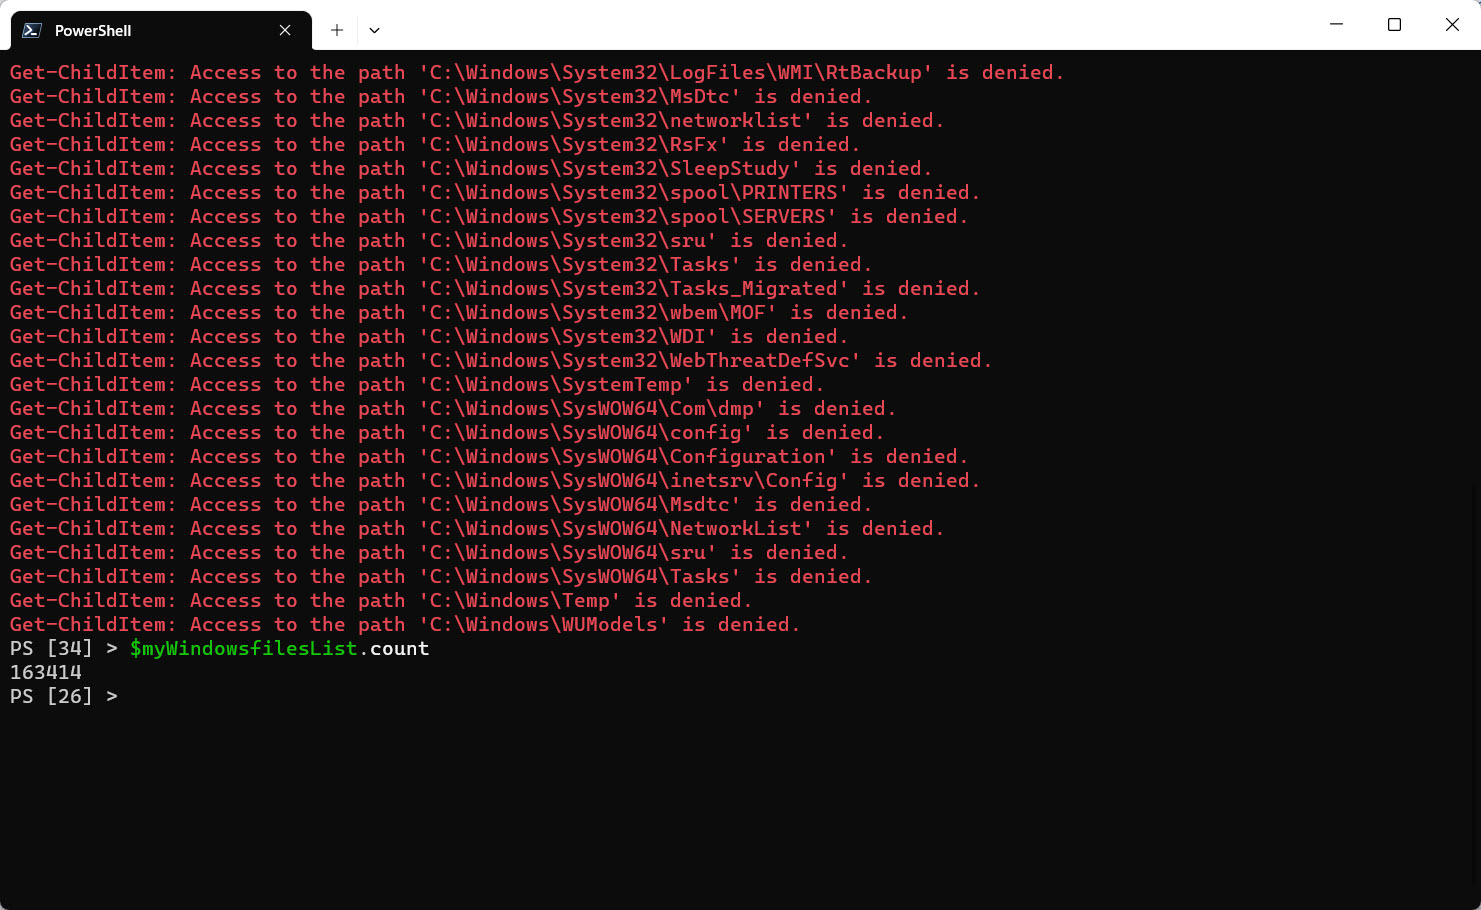
$myWindowsfilesList = Get-ChildItem C:\Windows -Recurse -ErrorVariable flerr;
$myWindowsfilesList.count
*Note: Please ignore the errors and we’ll get back to it later. Errors are saved in the $flerr variable for later viewing.
## – List a small range of rows without the “Row” Property:
$myWindowsfilesList[0..5]
$myWindowsfilesList[1000..1005]
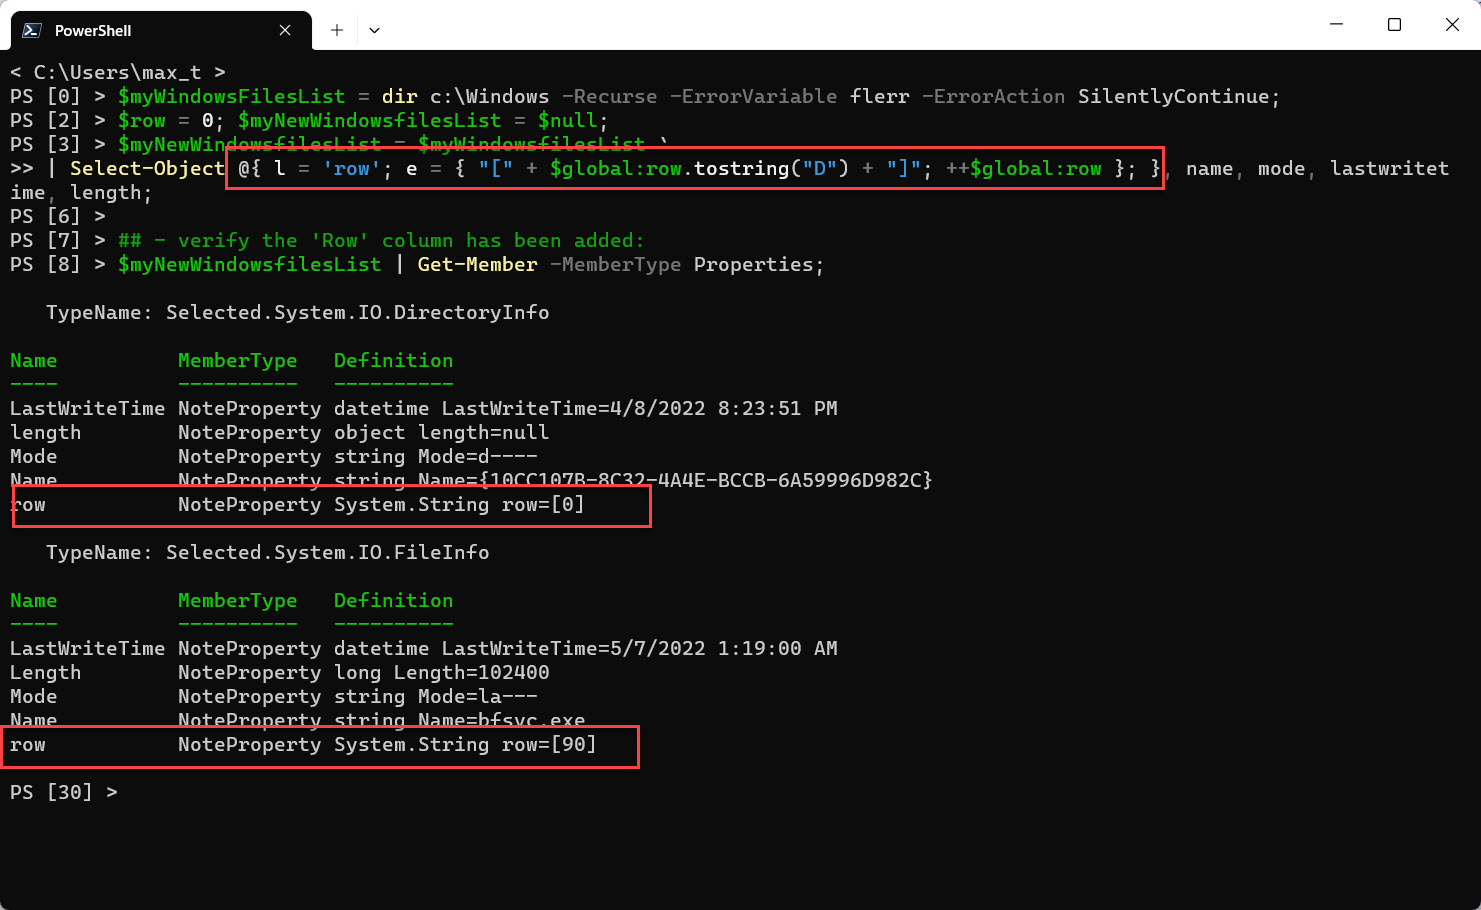
Now, with the help of PowerShell Custom Expressions, we’ll be providing a ‘row’ property to the existing output object. The new ‘Row’ property will be included in the “Select-Object” command and at the end of the process, will be saved as a new PSObject: “$myNewWindowsfilesList”.
Remember to initialize a global variable counter used for the row property.
To build the Custom Expression for the ‘Row’ property, see the line below:
@{ l = 'row'; e = { "[" + $global:row.tostring("D") + "]"; ++$global:row }; }
Try the new Code below:
## -
## - To preserve the new 'row' column as part of the PSobject. by saving it as a new object.
## -
$myWindowsFilesList = dir c:\Windows -Recurse -ErrorVariable flerr -ErrorAction SilentlyContinue;
$row = 0; $myNewWindowsfilesList = $null;
$myNewWindowsfilesList = $myWindowsfilesList `
| Select-Object @{ l = 'row'; e = { "[" + $global:row.tostring("D") + "]"; ++$global:row }; }, `
name, mode, lastwritetime, length;

## - verify the 'Row' column has been added:
$myNewWindowsfilesList | Get-Member -MemberType Properties;
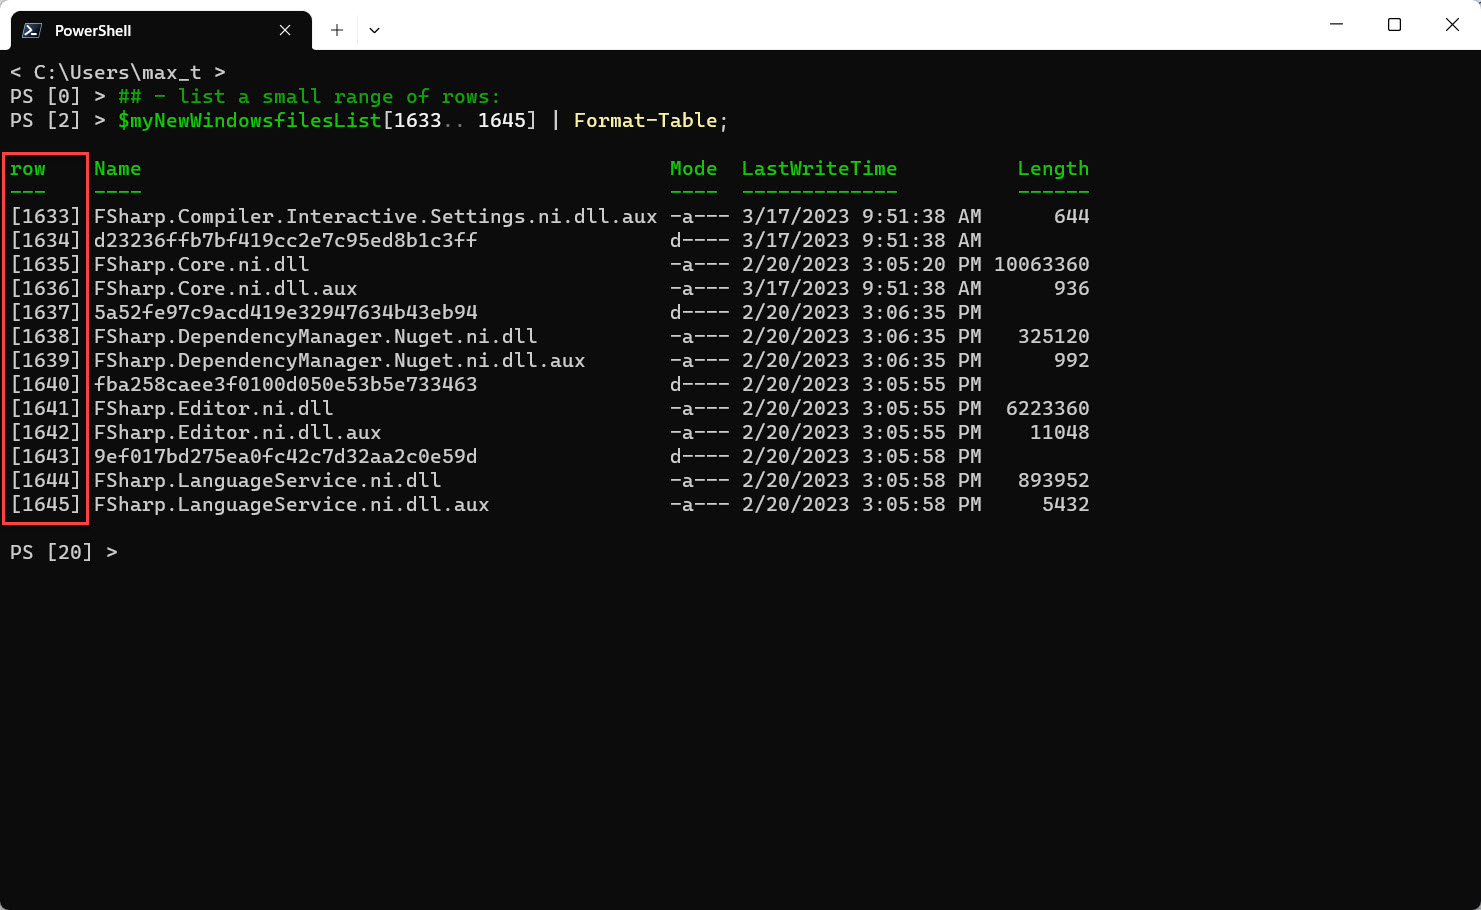
## - List a small range of rows:
$myNewWindowsfilesList[1633.. 1645] | Format-Table;
Add custom property using Add-Member
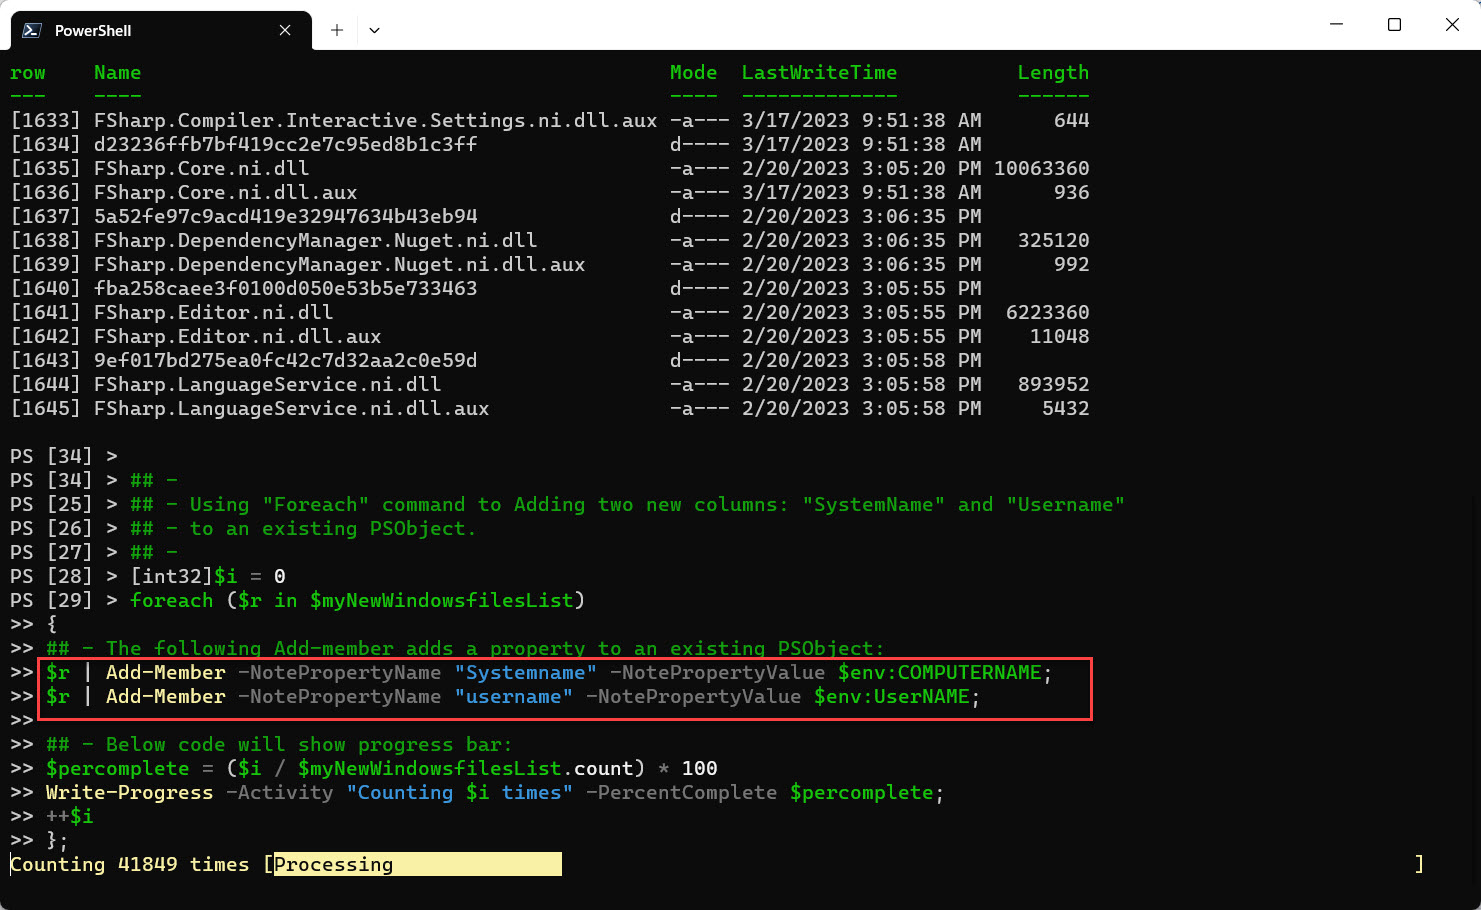
Add columns “SystemName” and “UserName“, to an existing new object using the “Add-Member” cmdlet within the ‘foreach{..}’ statement.
## -
## - Using "Foreach" command to Add two new columns: "SystemName" and "Username"
## - to an existing PSObject.
## -
[int32]$i = 0
foreach ($r in $myNewWindowsfilesList)
{
   ## - The following Add-member adds a property to an existing PSObject:
   $r | Add-Member -NotePropertyName "Systemname" -NotePropertyValue $env:COMPUTERNAME;
   $r | Add-Member -NotePropertyName "username" -NotePropertyValue $env:UserNAME;

   ## - Below code will show the progress bar:
   $percomplete = ($i / $myNewWindowsfilesList.count) * 100
   Write-Progress -Activity "Counting $i times" -PercentComplete $percomplete;
   ++$i
};
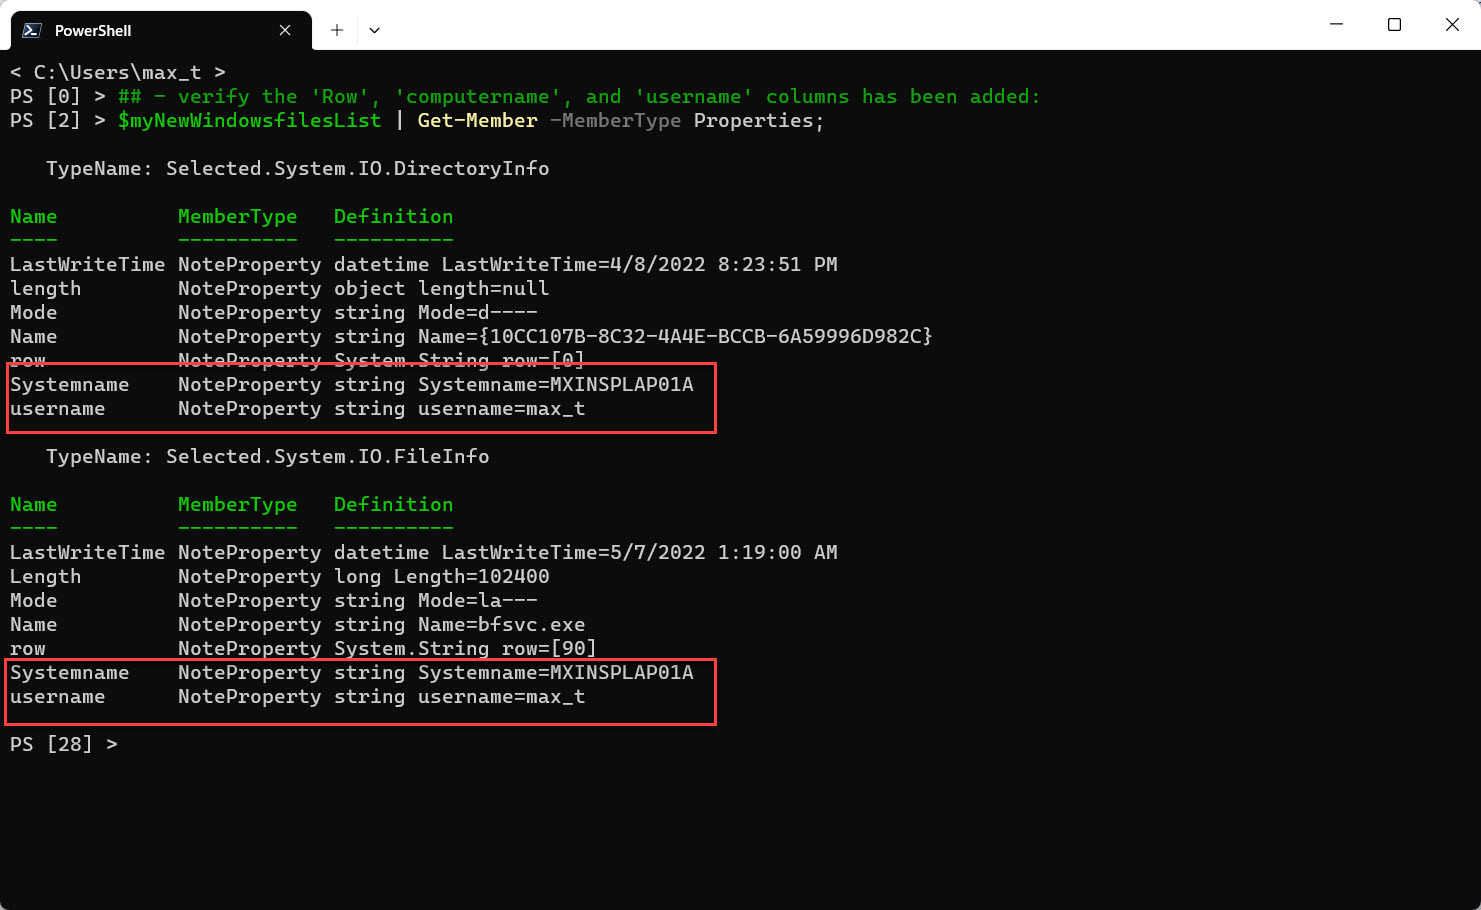
Displaying member properties and sample data with added columns:
## - verify the 'Row', 'computername', and 'username' columns has been added:
$myNewWindowsfilesList | Get-Member -MemberType Properties;
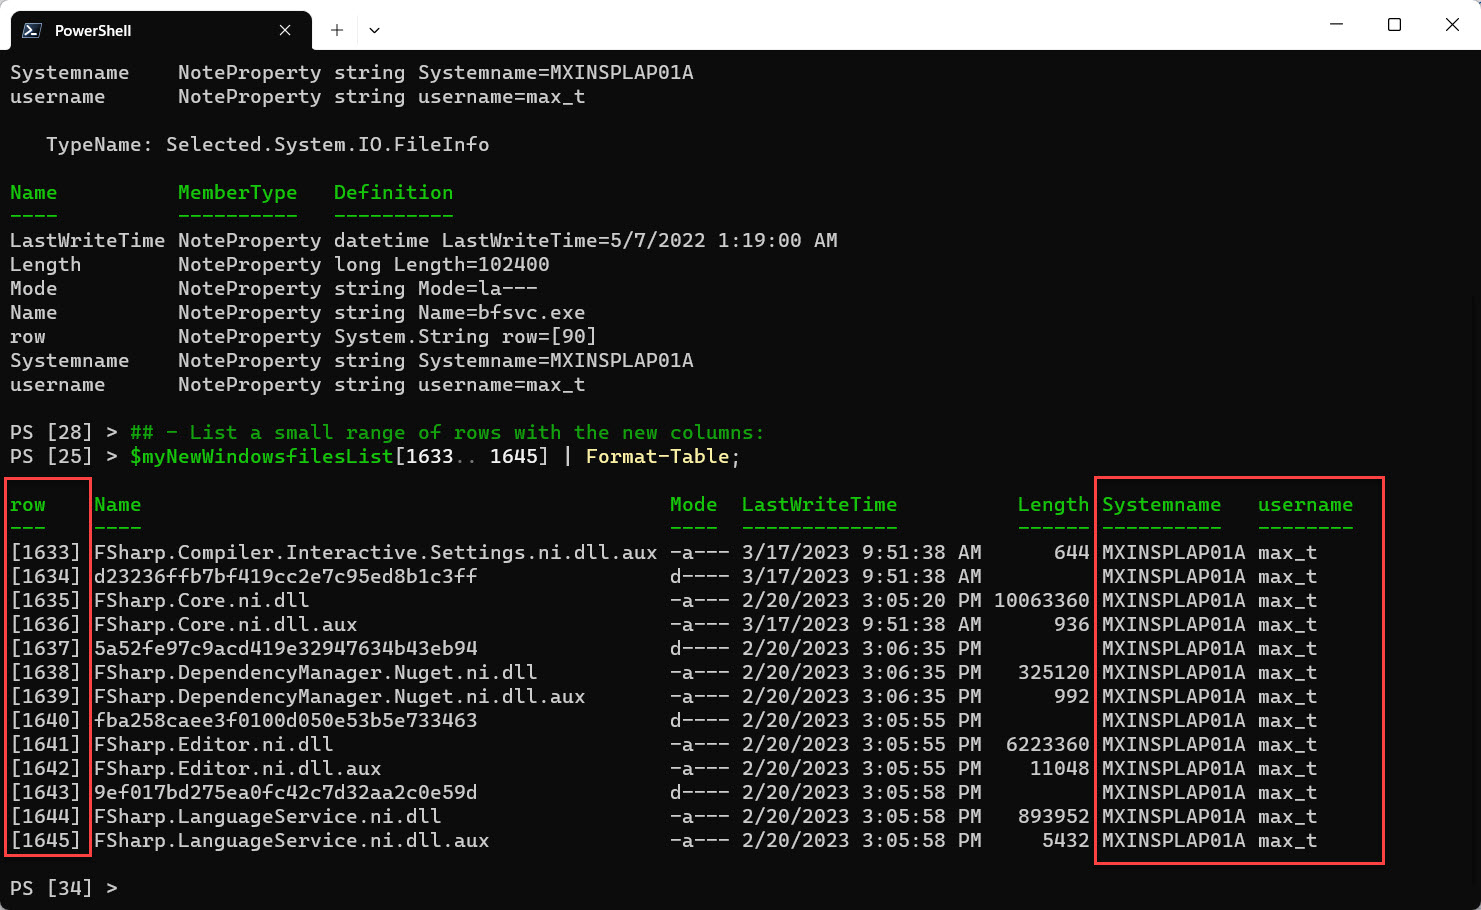
## - List a small range of rows with the new columns:
$myNewWindowsfilesList[1633.. 1645] | Format-Table;
Here’s where the PowerShell magic happened, as you would think that the Add-Member command would only affect only the row “$r” variable. The main PSObject “$myNewWindowsfilesList” has been updated. There’s no need to save the PSObject with a different name.
Recap
The combination of using ‘Custom Expressions’ with the Add-Member cmdlet gives great flexibility for building customized PSObjects. Go ahead and copy/paste this code, make your own properties, extend your PSObjects, and start thinking outside of the box. Make it fun!
Bonus
In the script code you’ll find a few techniques you’ll want to pay attention to:
1. String “.NET formatting” for the ‘row’ column.
2. Use of the “-ErrorVariable” with the “-ErrorAction” parameters – prevents the errors or exceptions to be displayed in the console. For more information, use the command:
Get-Help about_CommonParameters -ShowWindow;
3. Using the “Write-Progress” Cmdlet to display a progress bar while going thru adding the new columns. For more information, use the command:
Get-Help Write-Progress -ShowWindow;
4. “Get-Member” Cmdlet information, use the command:
Get-Help Get-Member -ShowWindow;
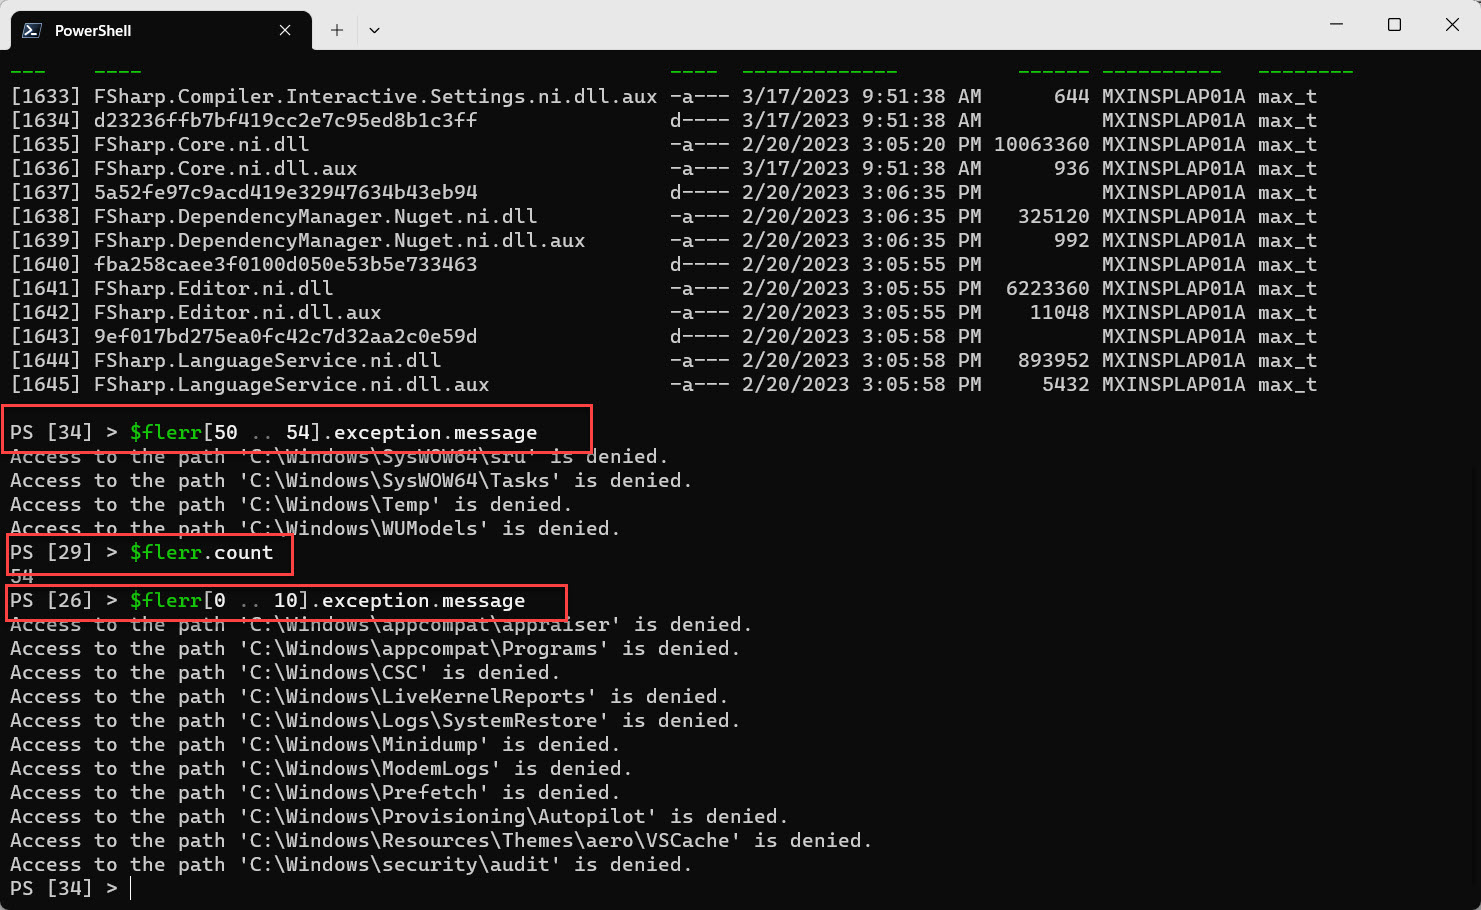
5. Displaying the saved errors from the $flerr variable;
## -
## - BONUS - Check how many errors were saved, list a few of the messages
## -
$flerr.count
$flerr[50 .. 54].exception.message
PowerShell is a powerful scripting language. Enjoy and Keep Learning!
Own your future!
