This is one of the beauty of PowerShell as you can always find the way simplify your code. In the case of getting the AzureRM virtual machine status using the Get-AzureRMVM cmdlet, everyone has been a little misleaded. It seems at that this command won’t give you the VM status unless you use the ‘-Status‘ parameter.
So, if you don’t use this parameter it won’t display the “PowerState” property, which in fact is the “Status” we all are looking for.
Simplicity
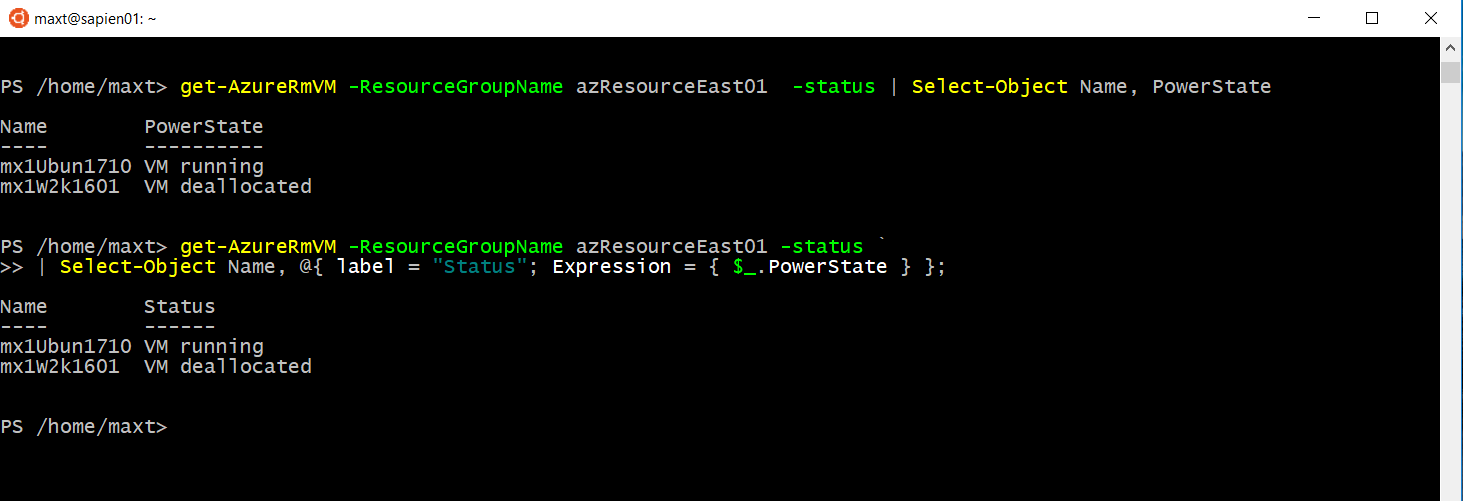
In order to properly display the status of any VM in Azure using AzureRM Get-AzureRMVM cmdlet, then use the following one-liner to do it:
[sourcecode language=”powershell”]
## – Display Status of existing VM’s:
get-AzureRmVM -ResourceGroupName azResourceEast01 -Status `
| Select-Object Name, PowerState;
## – Or, change the Property Label from “PowerState” to “Status”:
get-AzureRmVM -ResourceGroupName azResourceEast01 -status `
| Select-Object Name, @{ label = “Status”; Expression = { $_.PowerState } };
[/sourcecode]
Of course, this will also work in PowerShell Core. (The sample posted is showing Windows 10 Ubuntu)
Additional Information
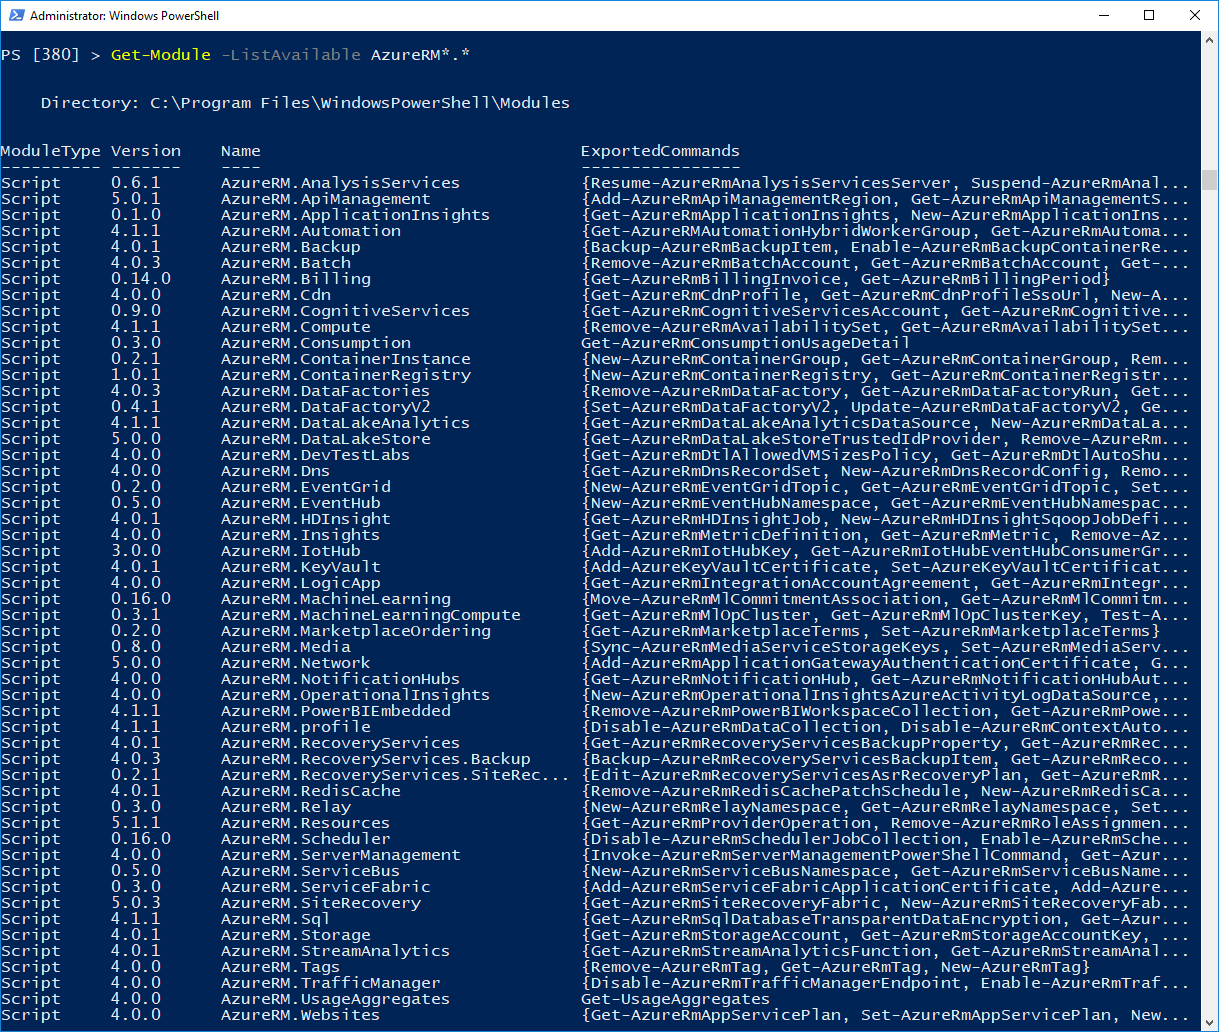
The following AzureRM versions can be installed from the PowerShell Gallery:
1. For Windows PowerShell: AzureRM Version 5.1.1
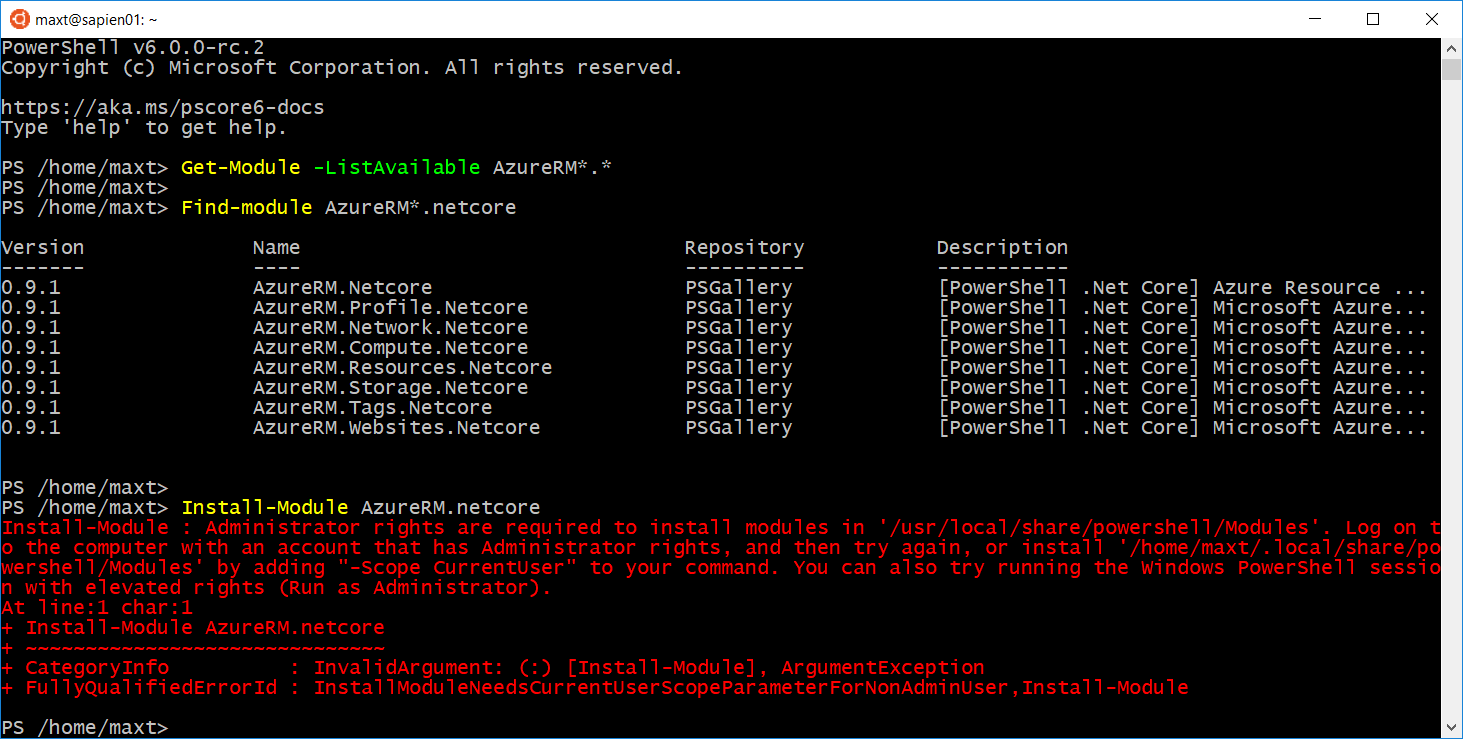
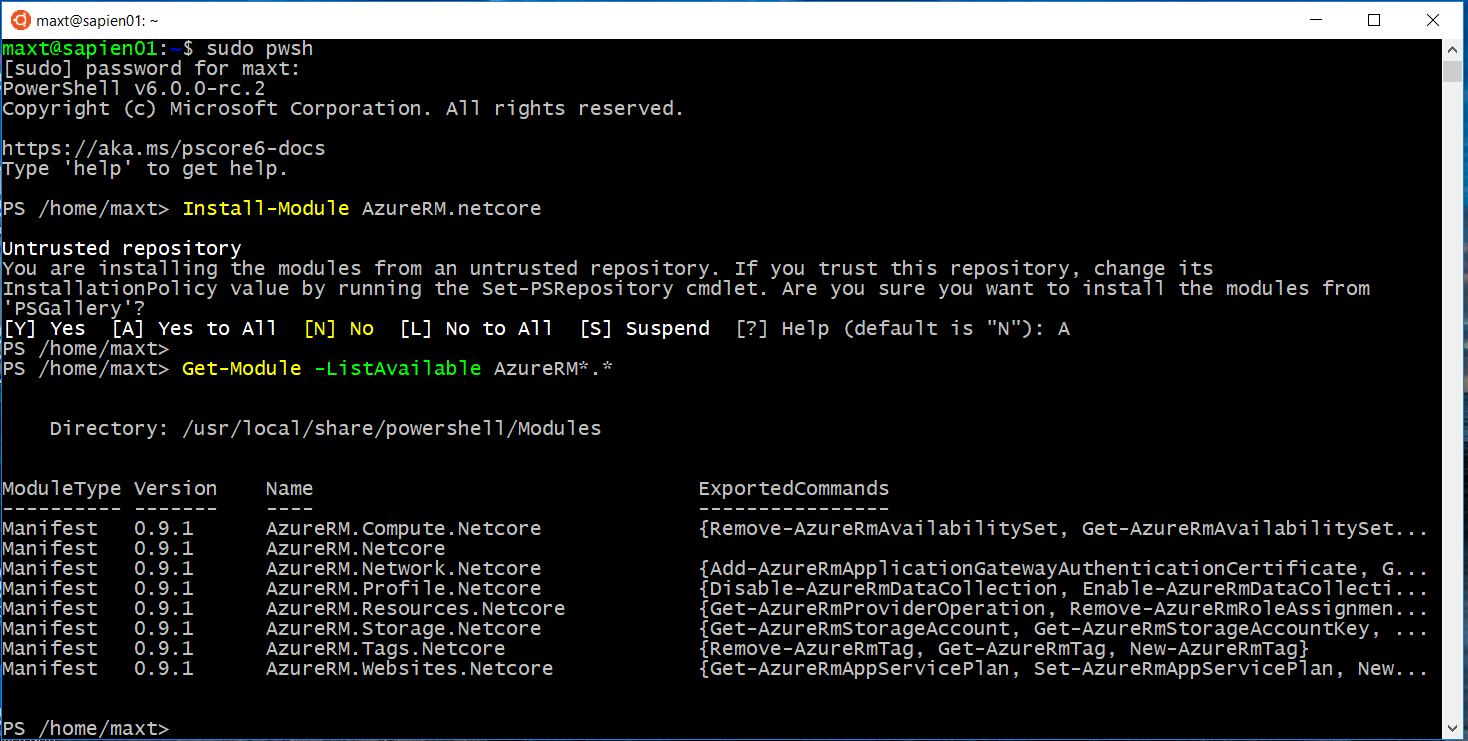
2. For PowerShell Core (Windows, Linux,…): AzureRM.Netcore Version 0.9.1
Keep in mind, when installing PowerShell Modules from PowerShell Gallery in Linux need administrator permissions. Open PowerShell using “sudo pwsh“, then proceed to execute “Install-Module AzureRM.Netcore” one-liner.
Then, connect to Azure and execute the command. (Previously shown)


