Lets cut to the chase! Here’s a quick way to create Datagrid views using PowerShell Studio.
First, take advantage of the forms wizard to start building your GUI application.
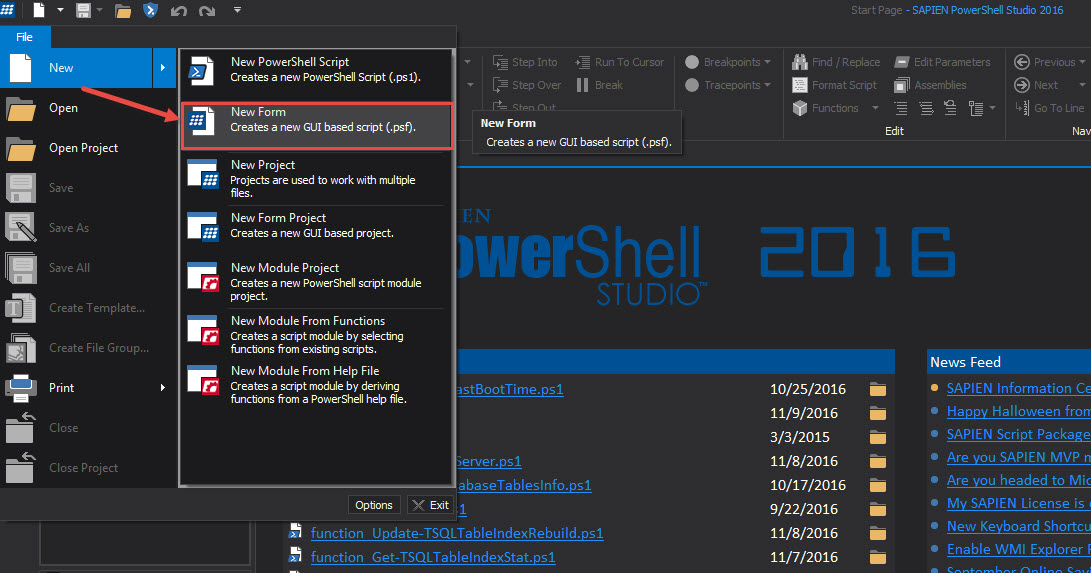
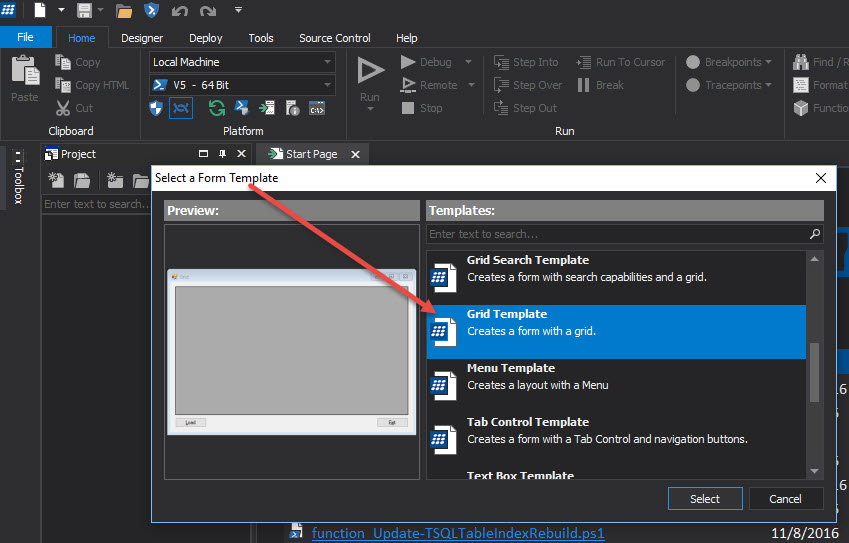
Go to “File” then select “New Form” and Select a template: “Grid Template”.
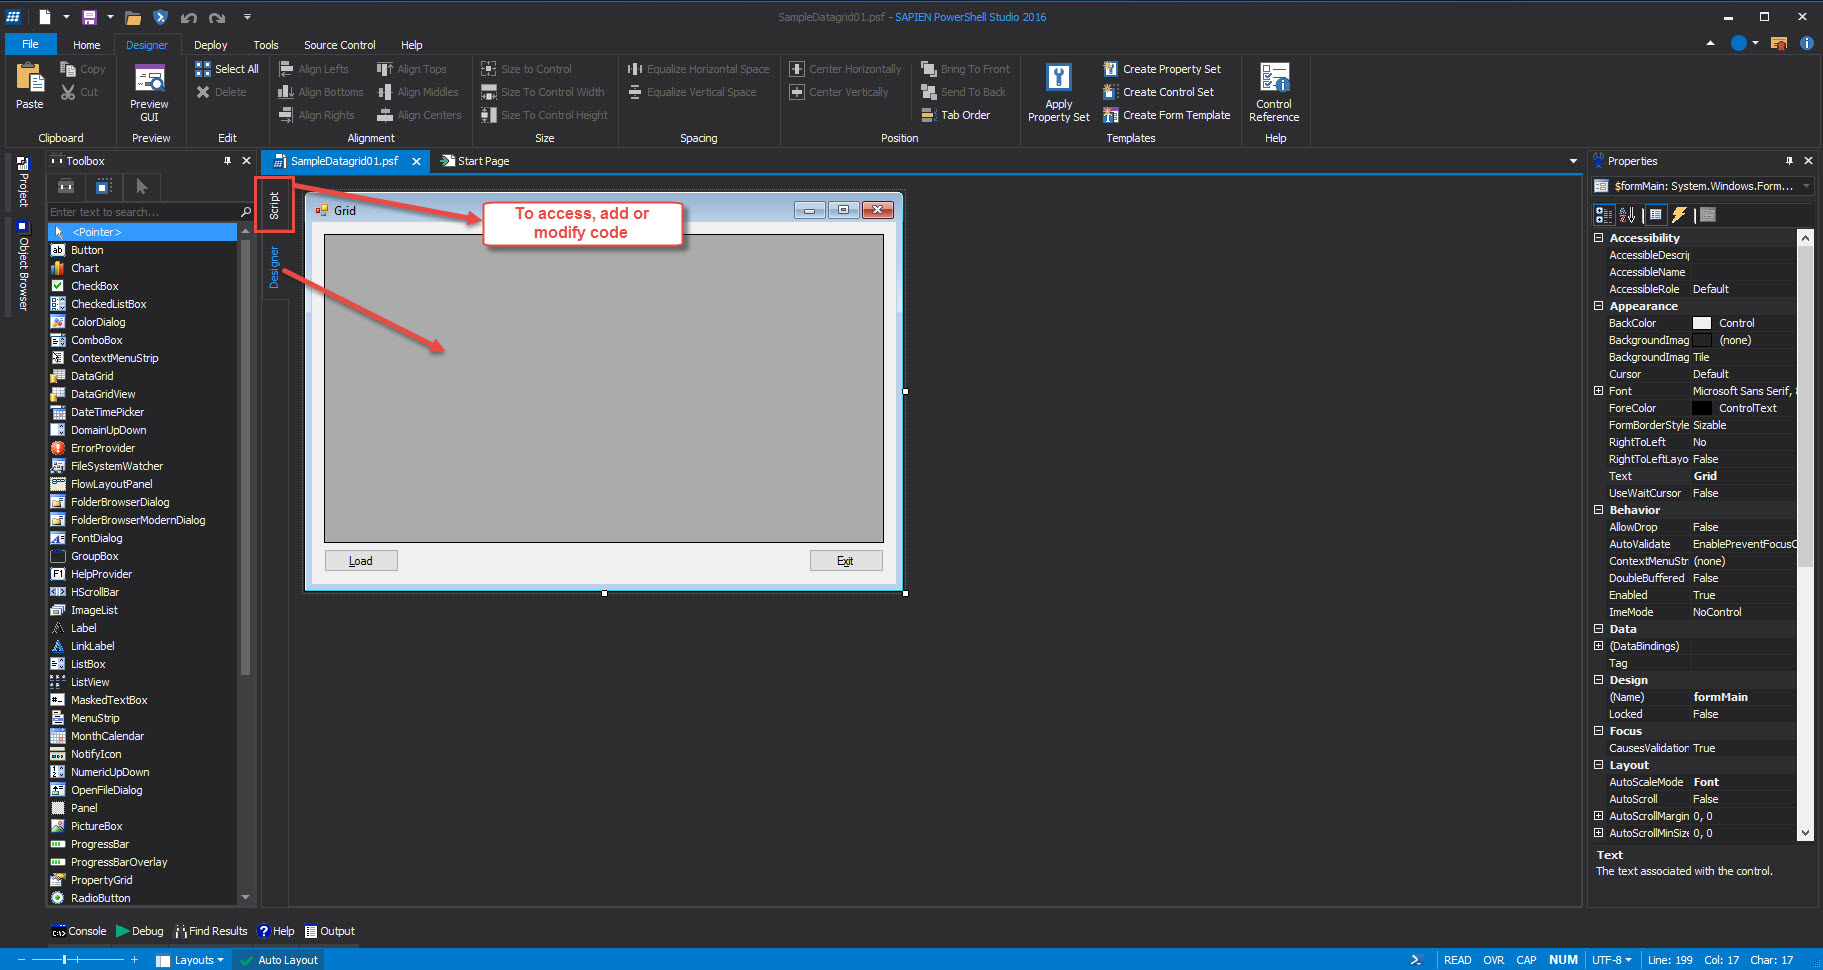
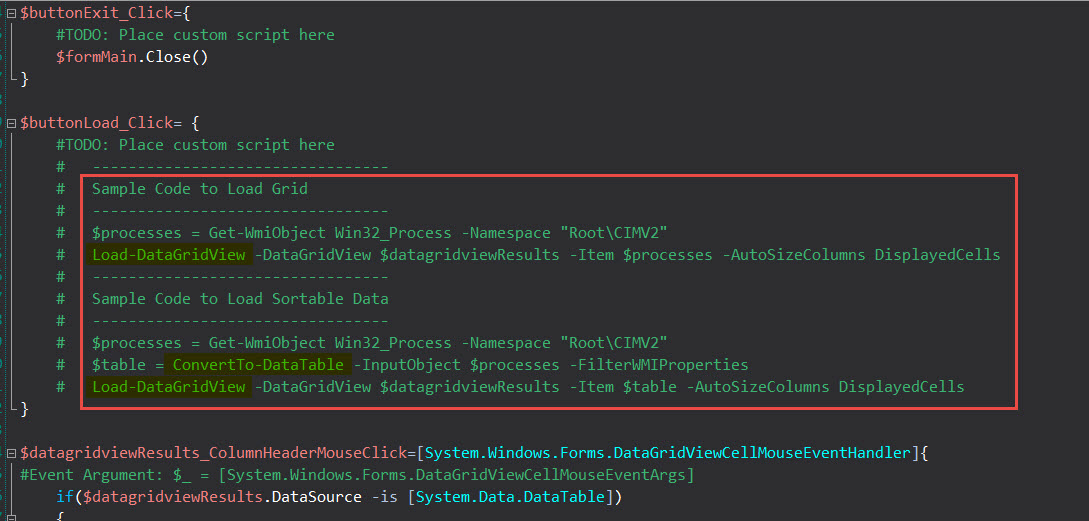
This template already provide us with two buttons: “Load” and “Exit”. Take a look in the script tab and you’ll notice some events been already created for us to use. Also, read the commented lines because it give you a hint in how to populate the datagrid in the form.
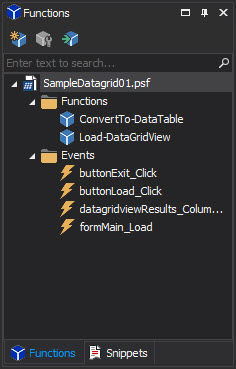
Now, in the commented sample, you’ll find the function “Load-DataGridView” is used to push the data to the datagrid component. This function is located at line #2 in the “#region Control Helper Functions”. Just expand the regions to view the *function:
1. ConvertTo-DataTable
2. Load-DataGridView
*Note: these functions are only available when you select the Grid template. They are not available in their Snippets section.
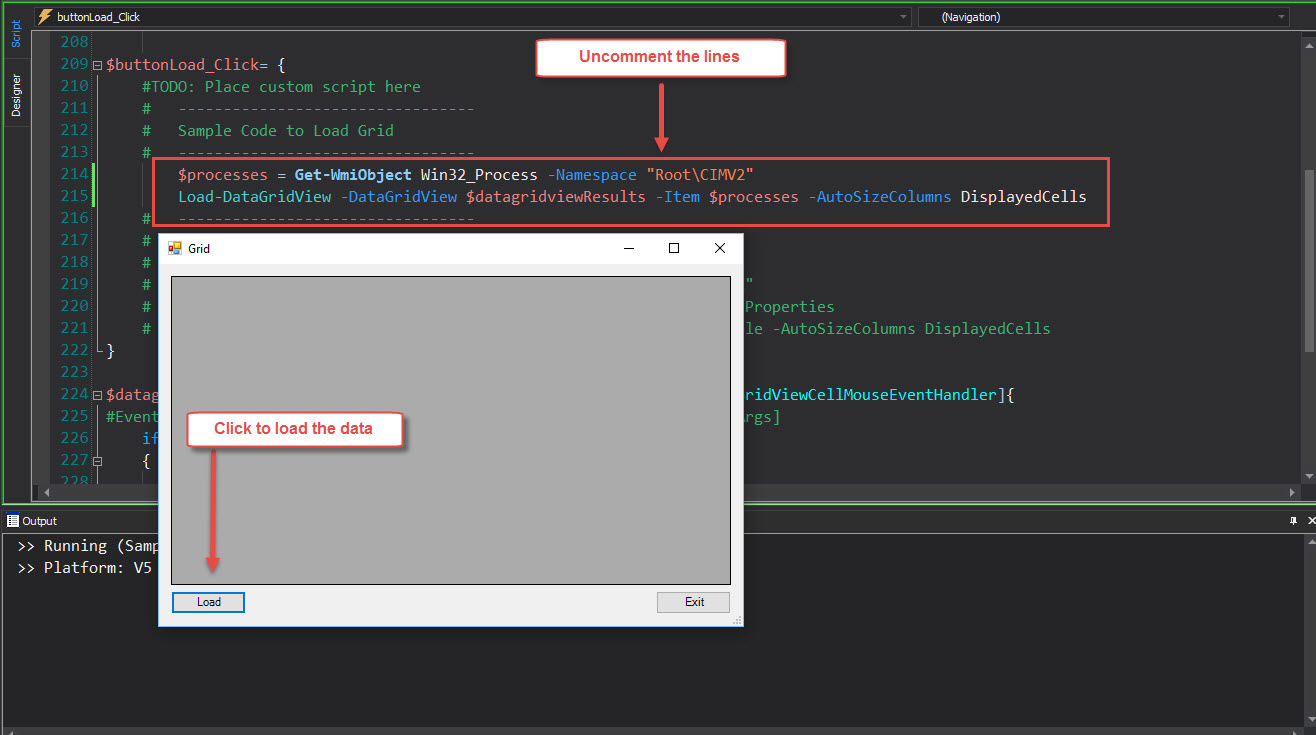
You can go ahead the follow the commented sample to populate the form datagrid. Uncomment the following line and run the application:
[sourcecode language=”powershell”]
$processes = Get-WmiObject Win32_Process -Namespace “Root\CIMV2”
Load-DataGridView -DataGridView $datagridviewResults -Item $processes -AutoSizeColumns DisplayedCells
[/sourcecode]
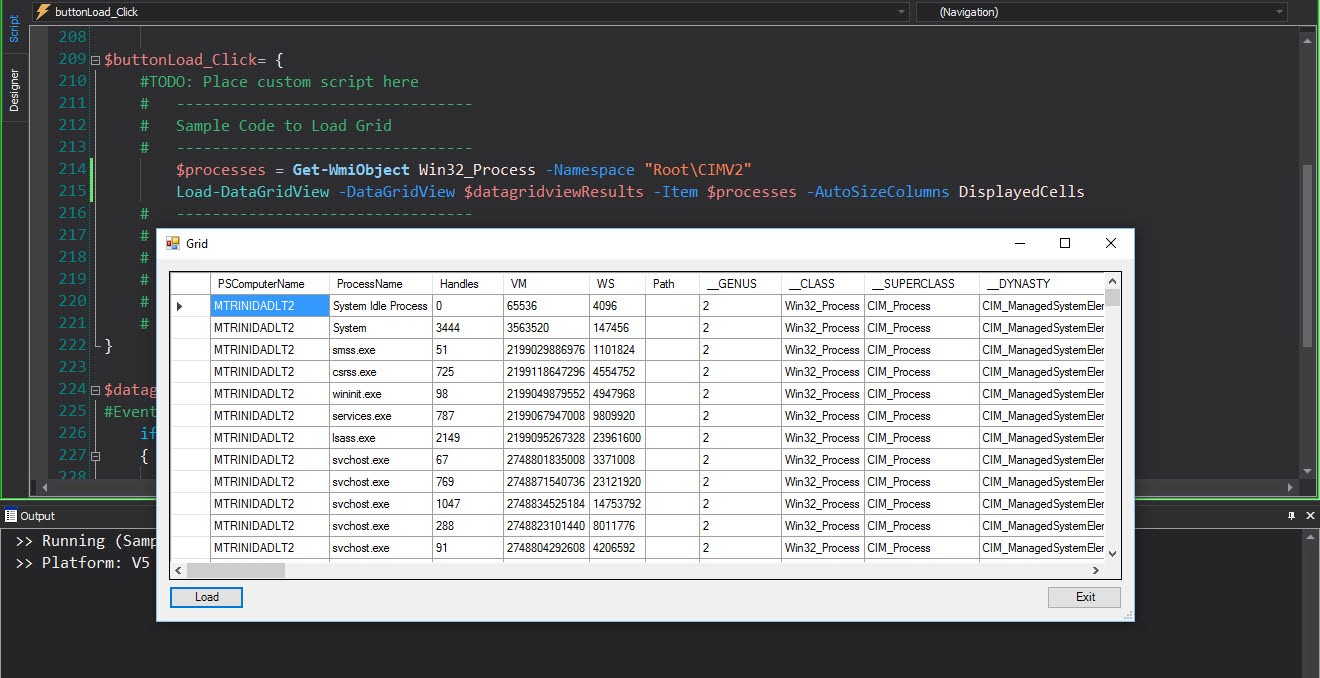
This will load the datagrid with data and you can resize the window application.
As you can seen, right from the template you can start building PowerShell Gui’s with SAPIEN PowerShell Studio product.
Download the product for a evaluation:
https://www.sapien.com/software/powershell_studio
More information about PowerShell Studio:
https://www.sapien.com/assets/pdf/PowerShell_STUDIO.pdf
