Here’s the final blog. I’m going to show the third way to execute PowerShell:
1. VS Code – PowerShell Extension and Debug feature.
2. VS Code – Code Runner Extensions for PowerShell.
3. VS Code – Terminal session.
2. VS Code – Code Runner Extensions for PowerShell.
3. VS Code – Terminal session.
VS Code – Terminal session
In Windows, we are configuring the VS Code “Integrated Terminal” to instead of executing Windows Cmd shell or Linux Bash, to use PowerShell Console.Then again, this is a quick change in the user “settings.json” in your script working folder.
Notice, by using the two forward slashes ” // … “, I commented out the original line that will execute Windows PowerShell.
After the change is made and restarted VS Code, use either the menu option “View | Integrated Terminal“, or just use key shortcut ” Ctrl + ` ” to open PowerShell.
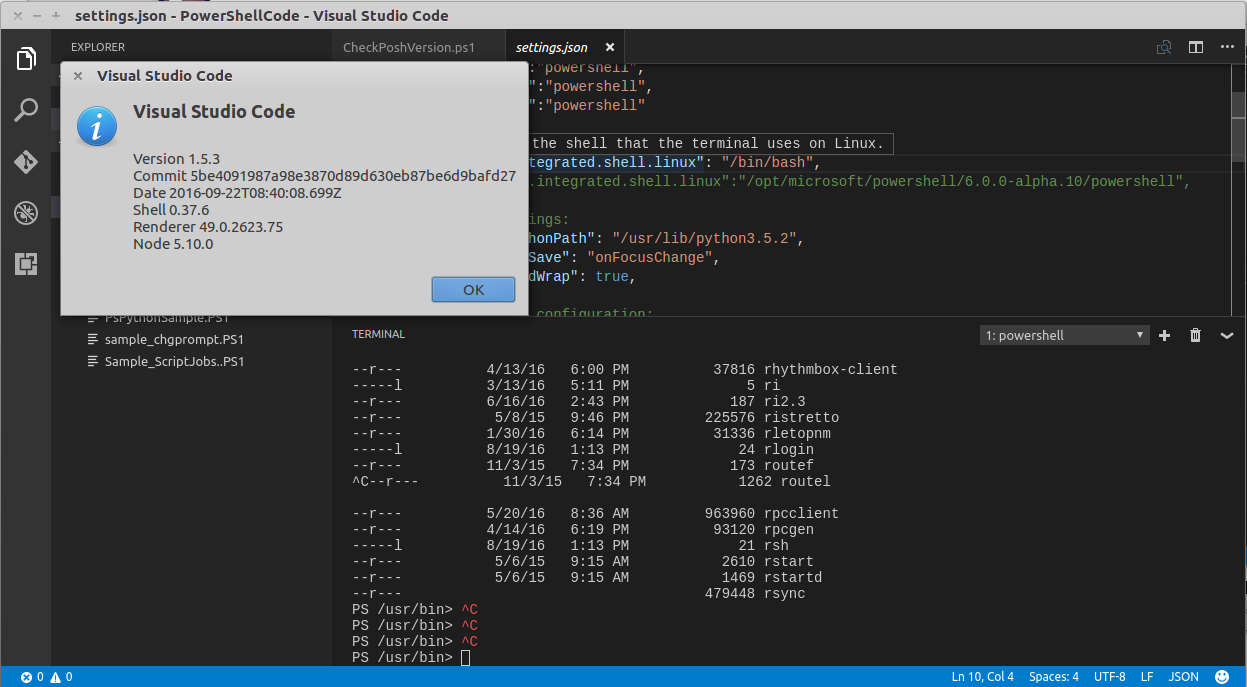
In Linux, the *Terminal line change from “terminal.integrated.shell.windows” to “terminal.integrated.shell.linux“. Of course, the PowerShell path change to “/opt/microsoft/powershell/6.0.0-alpha.10/powershell“.
*Note: Bug in VS Code Linux using Integrated Terminal, it won’t scroll up/down.
** Workaround for Scrolling Up/Down: Use Crtl-Shift-Up or Ctrl-Shift-Down.
Bonus on Extensions
These three blogs give you an insight on how to customized your VS Code editor. So, every installed extension you can customized it on you “settings.json” file. Where you find these settings? Look at the Default Settings (which are read-only) then look for the extension section. You can then copy/paste the line you need into your custom “settings.json” and “launch.json” file.
Now, keep an eye in upcoming release of VS Code because it will come with a PowerShell integrated which is something everyone waiting.


