As, I recently went back to try using VS Code in Linux, I’m going to show the second way to execute PowerShell:
1. VS Code – PowerShell Extension and Debug feature.
2. VS Code – Code Runner Extensions for PowerShell.
3. VS Code – Terminal session.
2. VS Code – Code Runner Extensions for PowerShell.
3. VS Code – Terminal session.
VS Code – Code Runner Extensions
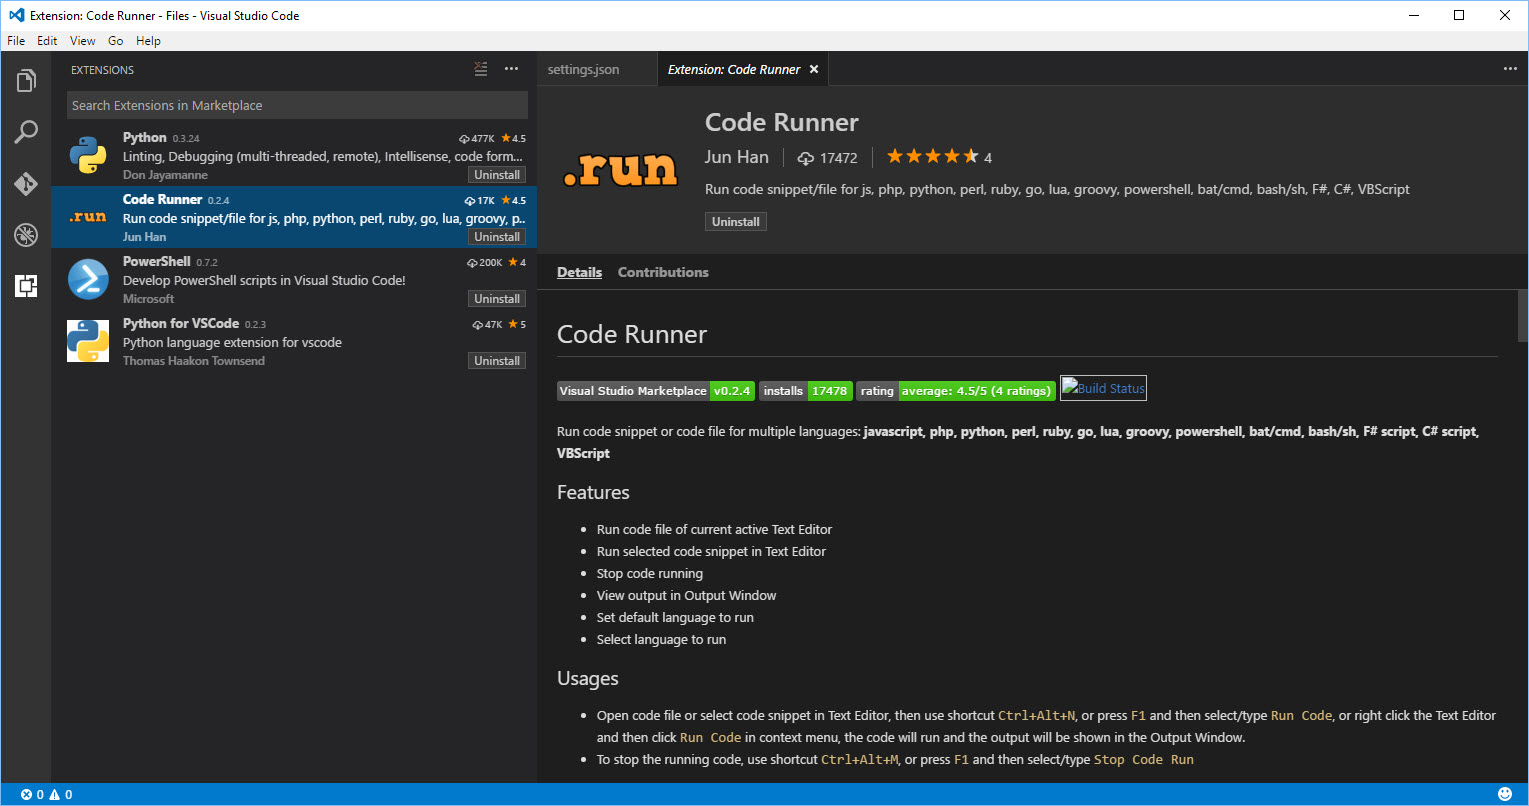
We need to proceed to install the “Code Runner” Extension. Take a look at this extension information which can be use with many other script languages.
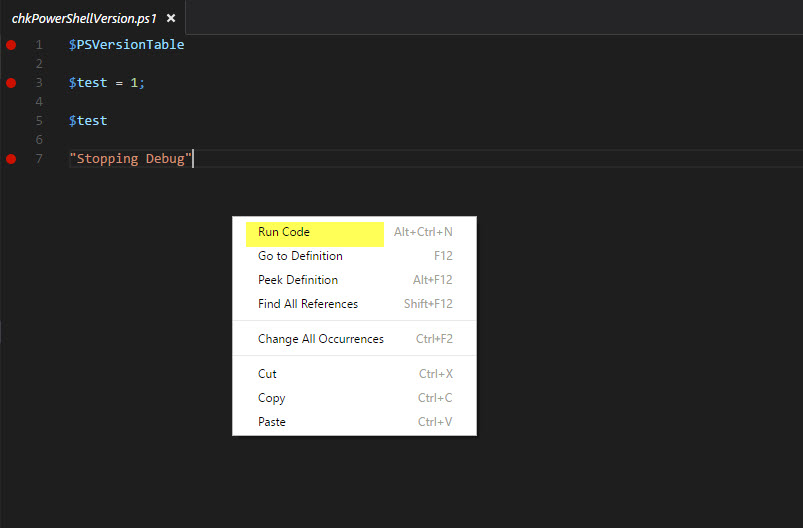
In Linux, to execute PowerShell using “Code Runner“Extension:
1. open the script.
2. Right-click anywhere in the script area.
3. Then, select “Run Code” to execute.
2. Right-click anywhere in the script area.
3. Then, select “Run Code” to execute.
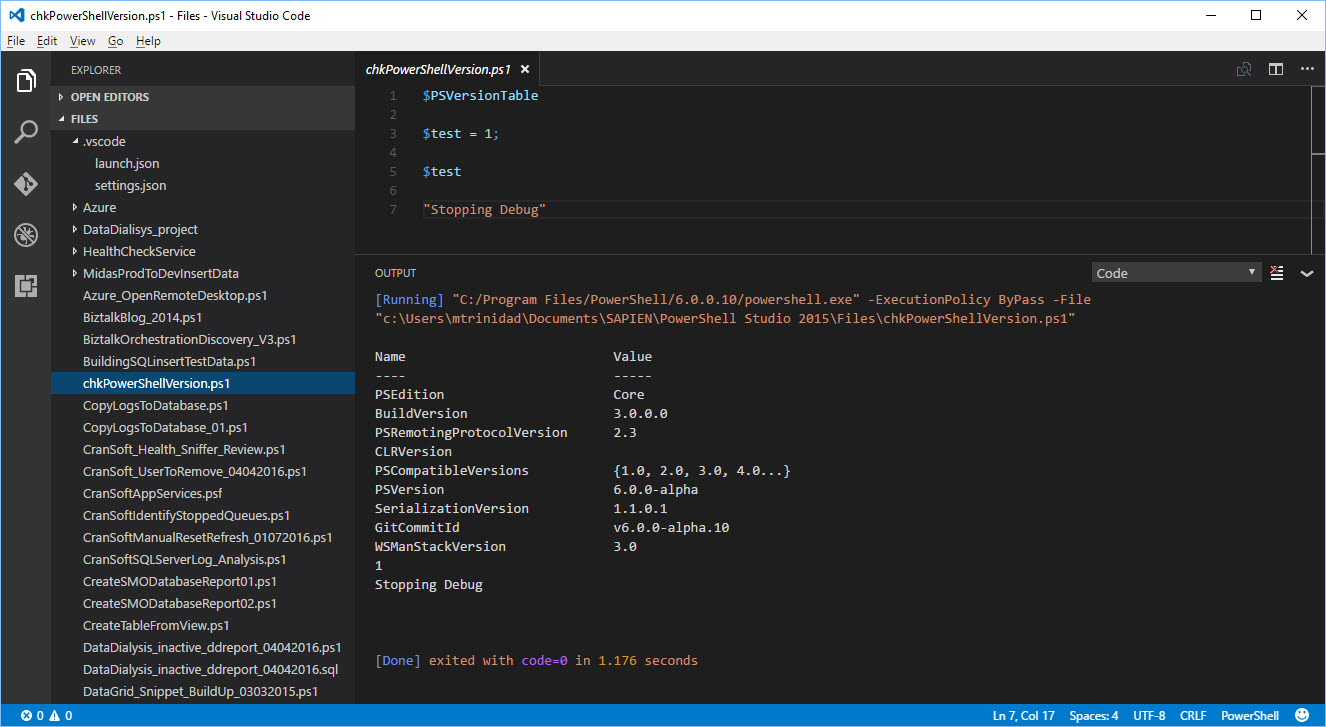
That’s it! All script results will be display in the “Output” pane below the code.
Now, in Windows OS, Windows PowerShell is the default executable path to run the script. If you want to change from Windows PowerShell to use the PowerShell Open Source then you need the change the executable path line in “Code Runner” settings.
Here’s a sample view of “Code Runner” modified code in the user “settings.json” file:
This change in ‘ “powershell”: …” line will point the PowerShell Open Source:
Notice, by using the two forward slashes ” // …“, I commented out,the original line that will execute Windows PowerShell.
Next blog post, I’m going to cover the third way to execute PowerShell – “VS Code – Terminal Session“.


