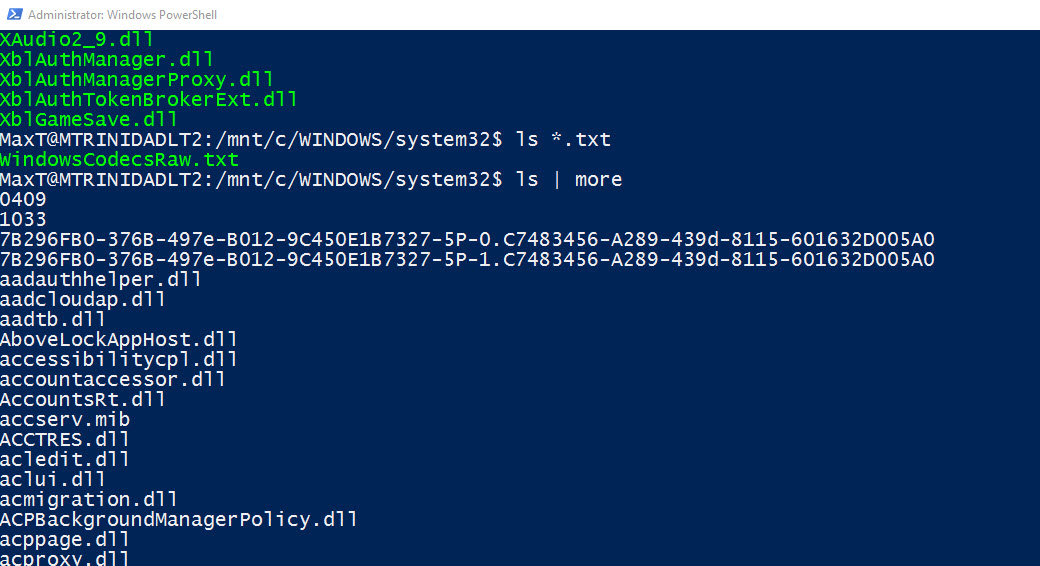
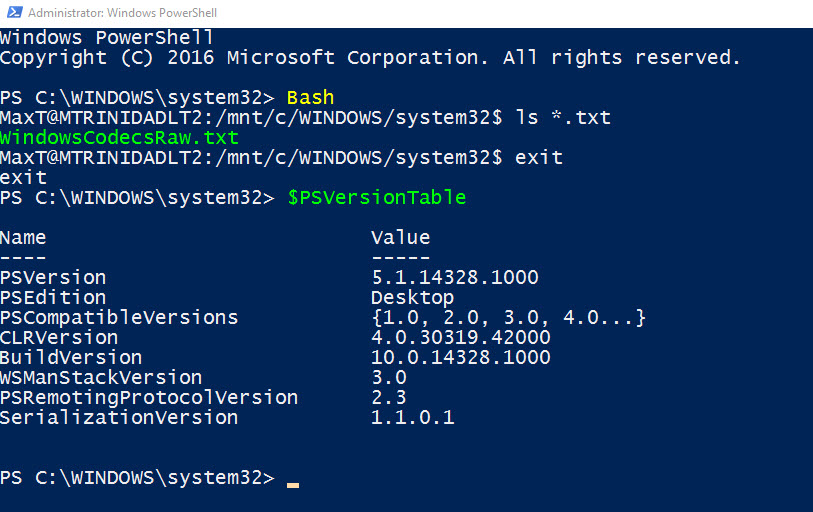
Yes! I finally got the latest Windows 10 Build 14328 which includes BASH Ubuntu Linux subsystem. I took me few days since my organization did a Windows 7 upgrade to Windows 10 Version 1511. Then, thru Windows Insider, getting the latest version with Bash.
If it worth knowing that in order to get Bash, it’s a feature you need to installed it first. The following is the series of steps I use to enabled and install Bash on my desktop. And, after enabling Bash, I started using it under the PowerShell Console.
Set bash Feature On
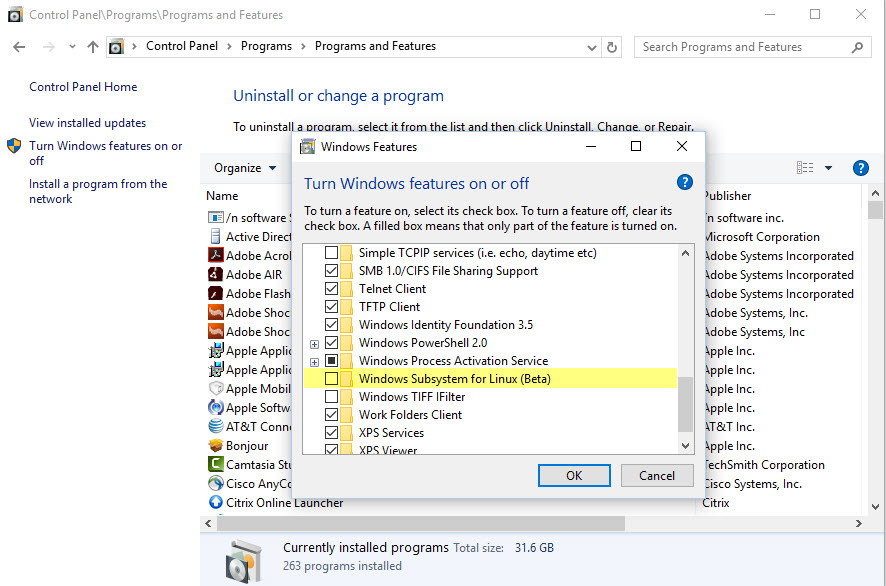
Go to Control Panel, under Programs click “Uninstall a program” then click on “Turn Windows features on or off“. Under the “Windows Features” popup windows Look and Enable “Windows Subsystem for Linux (beta)”. Click OK to accept changes.
Using PowerShell Console and Set Developer Mode
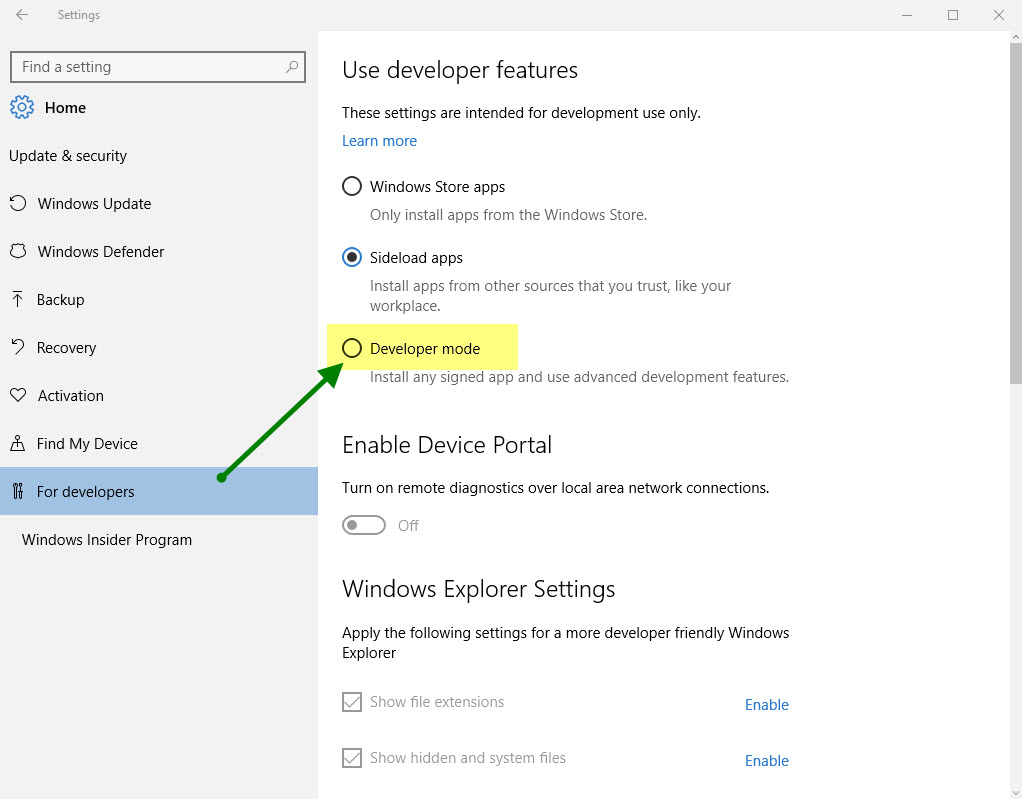
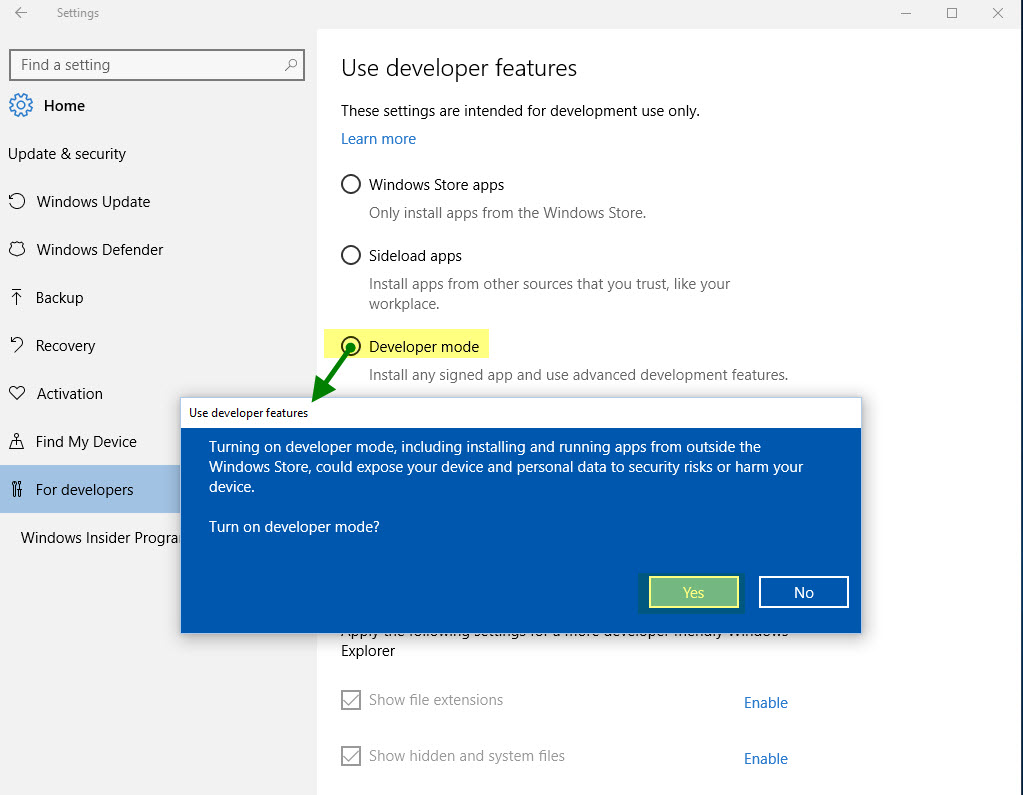
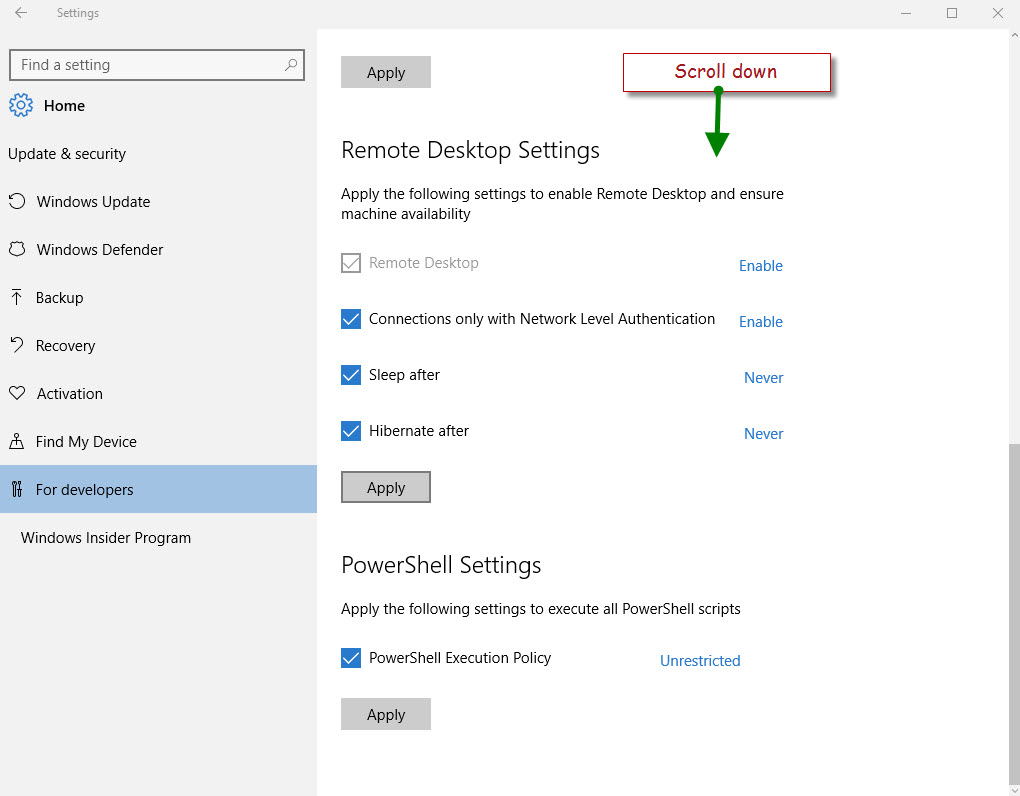
Open PowerShell Console but make sure you already have set the “Execution Policy” to at least “RemoteSigned“. Type and execute “bash” but it won’t work because you need to have your Windows 10 set to Developer Mode.
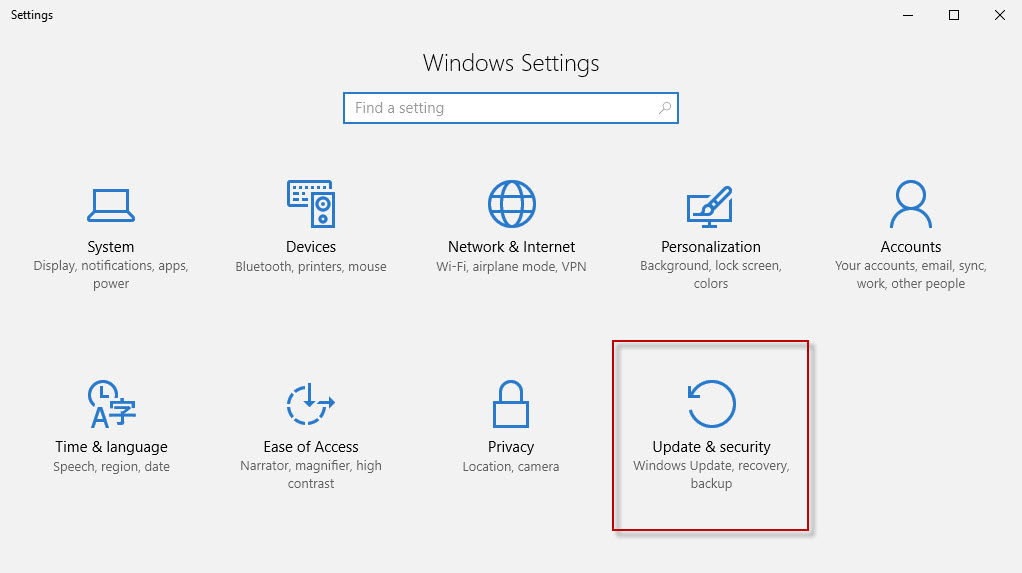
The following screen show how to go thru the “Setting” panel to enable Windows Developer Mode.
Ready for Bash
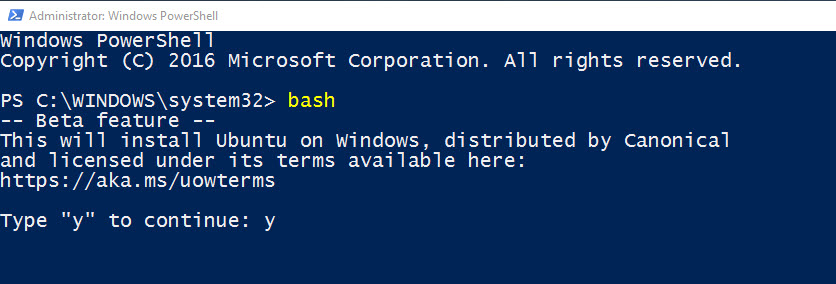
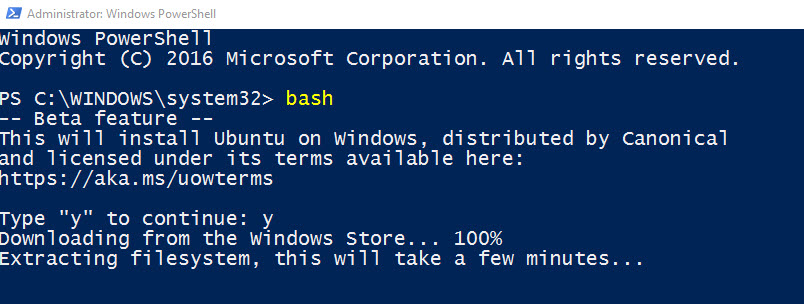
At the PowerShell prompt type “bash” and press enter. This will ask to enter “y” to initiate the installation of Ubuntu on Windows.
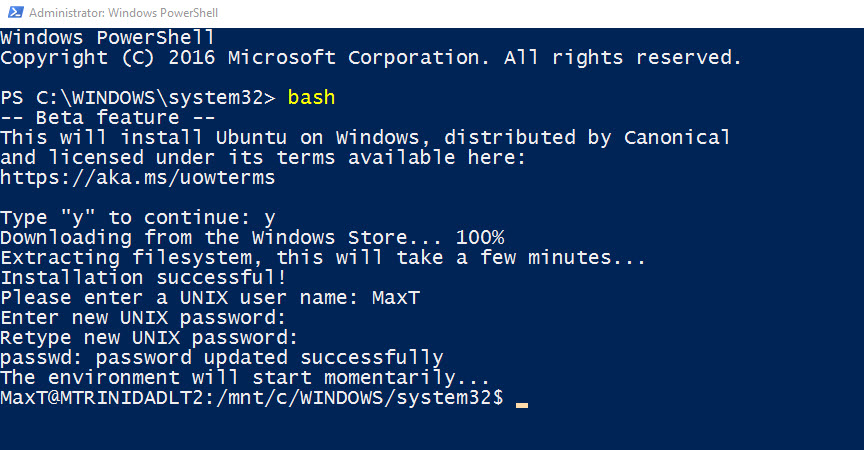
After the installation is completed the next step is to create a User-ID and Password.
Now, you can start using Linux within PowerShell.
To get back to PowerShell just type “exit“. How cool is that!!

